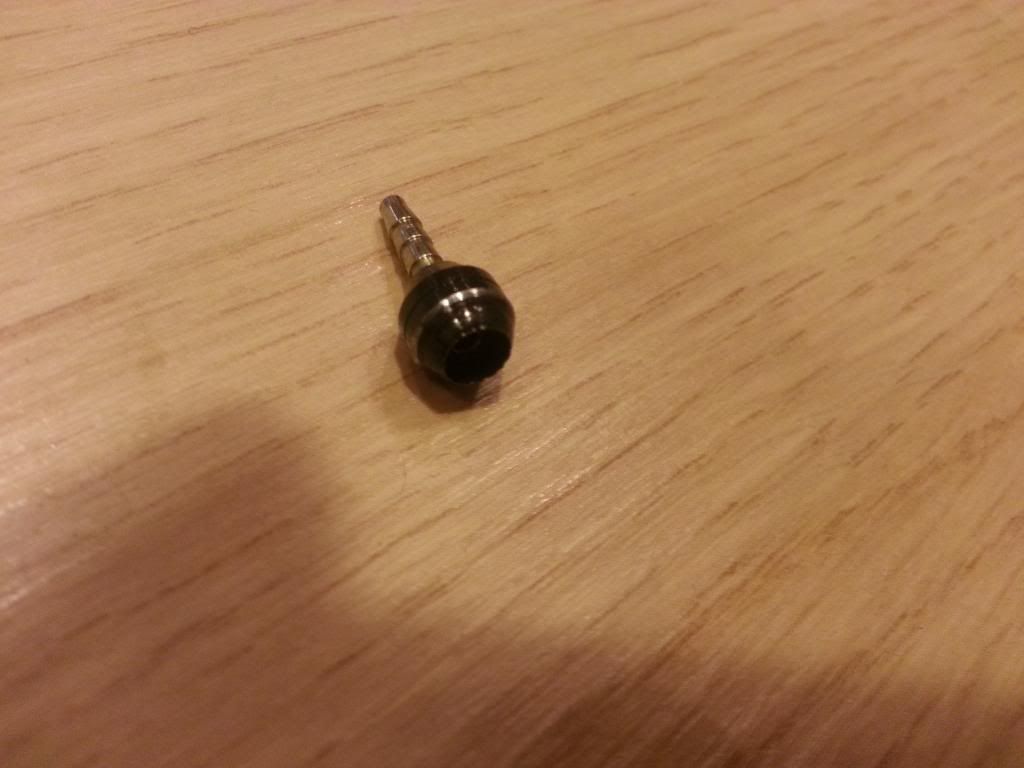
Magura hydraulic brake cut-off switch

103Alex1

Esteemed Pedelecer
Sep 29, 2012
2,228
67
Landmark success tonight, just completed this installation.

Replacement brass insert for hydraulic brake cable arrived from Chainreaction this afternoon and was exactly right (thanks again amigafan – you saved me an expensive knee-jerk over-reaction !). The Magura inserts fitted inside the cut Shimano hydraulic brake line perfectly too (phew !).

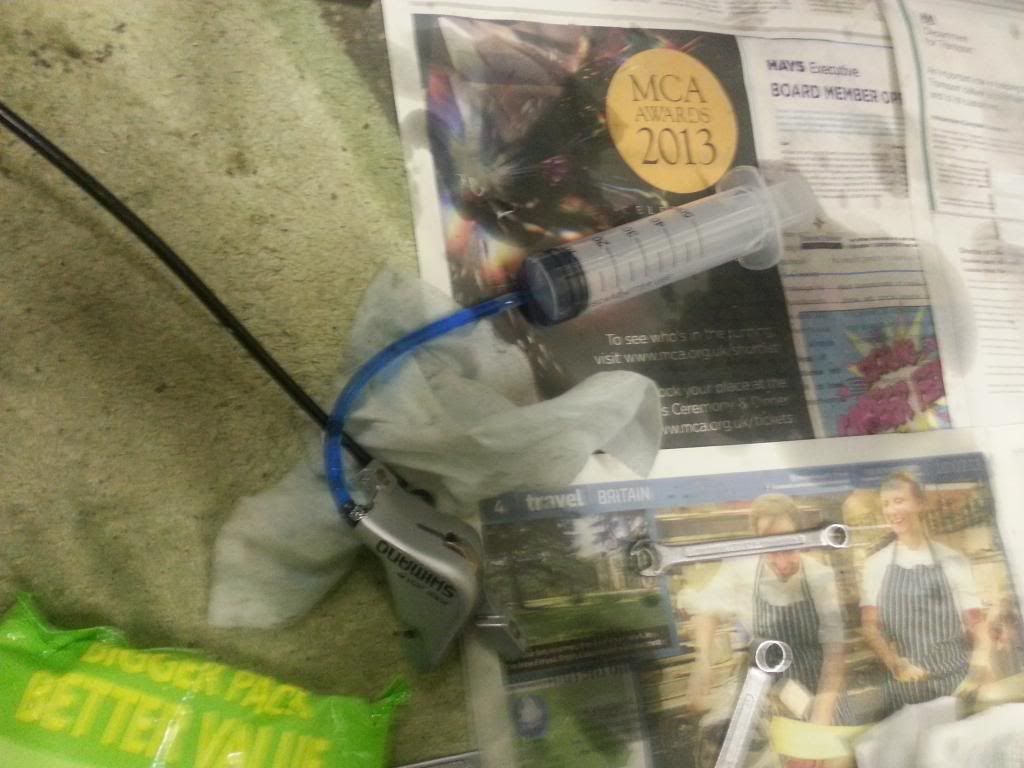
Connected up the switch, dismantled the brake calliper, filled the reservoir, fitted a syringe to the bleed nipple and sucked out all the DOT3 oil. There was quite a lot left in the system despite having shaken out the cables from the lever reservoir side as well as the calliper side.

Relented and decided to use the (returnable) £5 100ml bottle of “Royal Blood” I’d ordered from Chainreaction rather than try to find cheaper stuff for the 1st attempt at this. Basically because I had it and getting anything else would have involved a 7 mile round trip to Halfords !

Fitted a new clean syringe when the blue stuff started coming through and got rid of the old oil.

Then proceeded to learn by experience what NOT to do when trying to bleed brakes !!! The syringe turned out to be a lifesaver because suffice to say I’d have run out of oil about 3 times with the number of attempts I had at getting this right (and was being careful !).

The amount of fluid which for various reasons wound up on the floor, squirted on the walls out of the syringe by mistake, on my hands (used last pair of disposable gloves and forgot to buy any more) and anywhere else you can think of lol.... I still have about 30ml salvaged from the syringes for a 1st topup or two but I’ll definitely follow up the recommendations about cheaper substitutes for maintenance.
I worked through just about everything getting this system bled after fitting the switch – main mistakes were :

1. Not tightening the switch bolts enough – so got leaks at the switch which I thought were problems at the caliper

2. Using a balsa block instead of proper wood to stop the brake piston from advancing when I squeezed the brake levers (of course it just squashed !) .. so fluid leaked from near the edges when I’d bled the system about 4 times after working out the switch bolts needed tightening)

3. Attempting to raise the calliper high rather than tap the cable and pump the brake lever – it just wouldn’t work no matter how many times I tried it to stop air coming out or emptying the reservoir (maybe as these brakes aren’t Magura – or more likely my inexperience and forgetting to do something like close the bleed nipple at the right time )

4. Forgetting to close the bleed nipple when pumping the brake lever

.... and those are just the main ones (!)

Things which saved me from doing major damage were :

1. Putting a zip seal bag over the switch connector (when fluid leaked from the insufficiently tightened switch it collected in the bag and the connector was saved)

2. Having a huge box of Dettol wipes to hand, immediately mopping up any spilt fluid from bike parts (especially when it started oozing out from round the pistons

3. Having the brake pad assembly on a table well away from workspace (would have got covered in fluid otherwise) ...

In the end, I used this method for these combi-shifter brakes with separate reservoir, but using a syringe and windscreen wiper tubing instead of a service kit/ bag, (which worked a treat in the end) although the levers must have got pumped about 250 times over the 3 hours it took me to fit the switch and finally close the system up :
Park Tool Co. » ParkTool Blog » Shimano® Hydraulic Brake Service and Adjustment

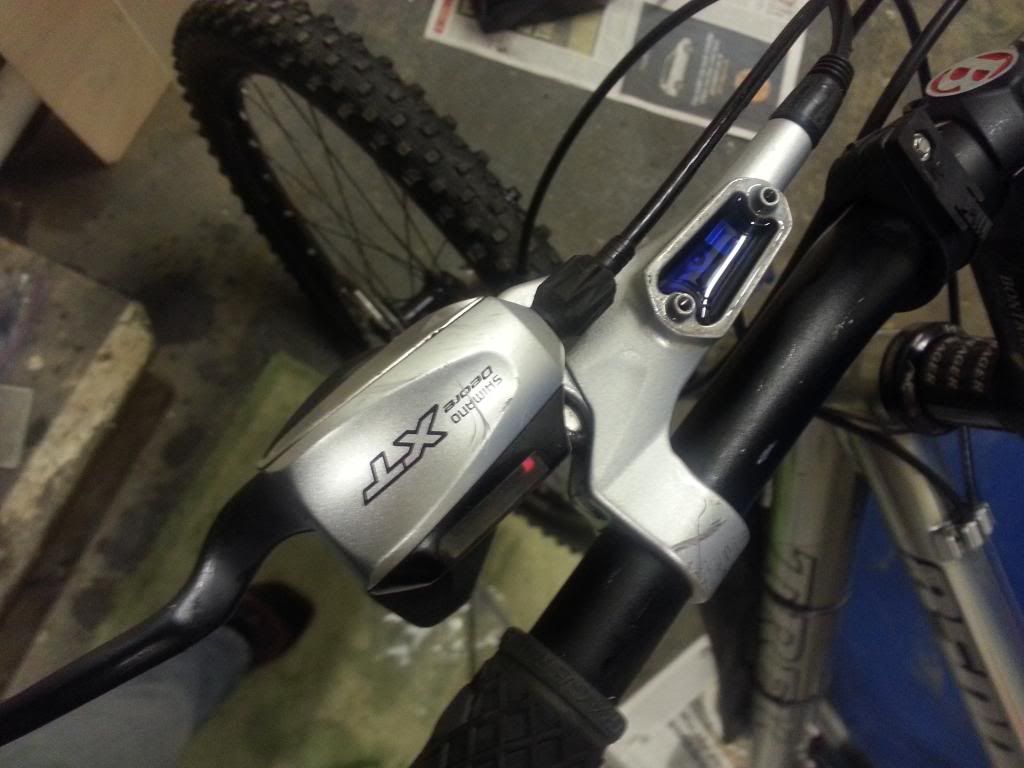
Proof of the pudding ... connected up and tested the switch with the bike upside down and the throttle on constant. It engaged a decent way through applying the brakes, just at the right point so as not to give false cutoff (hopefully will be the same on the road) and cut the motor power just as expected. IT WORKS !!!

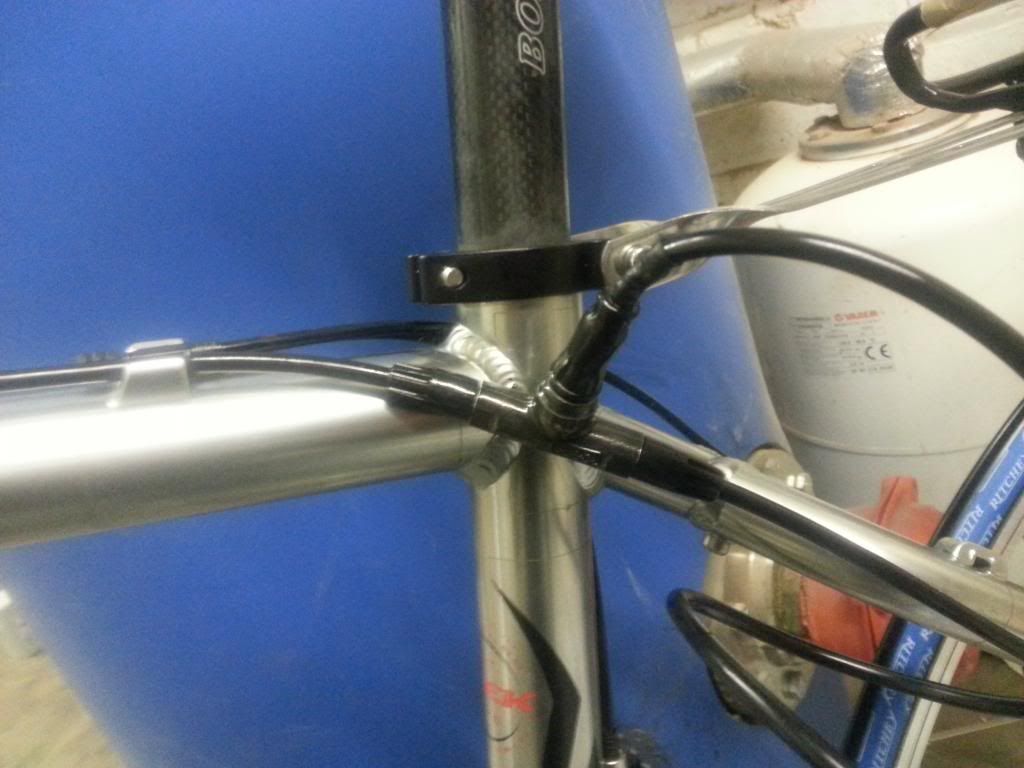
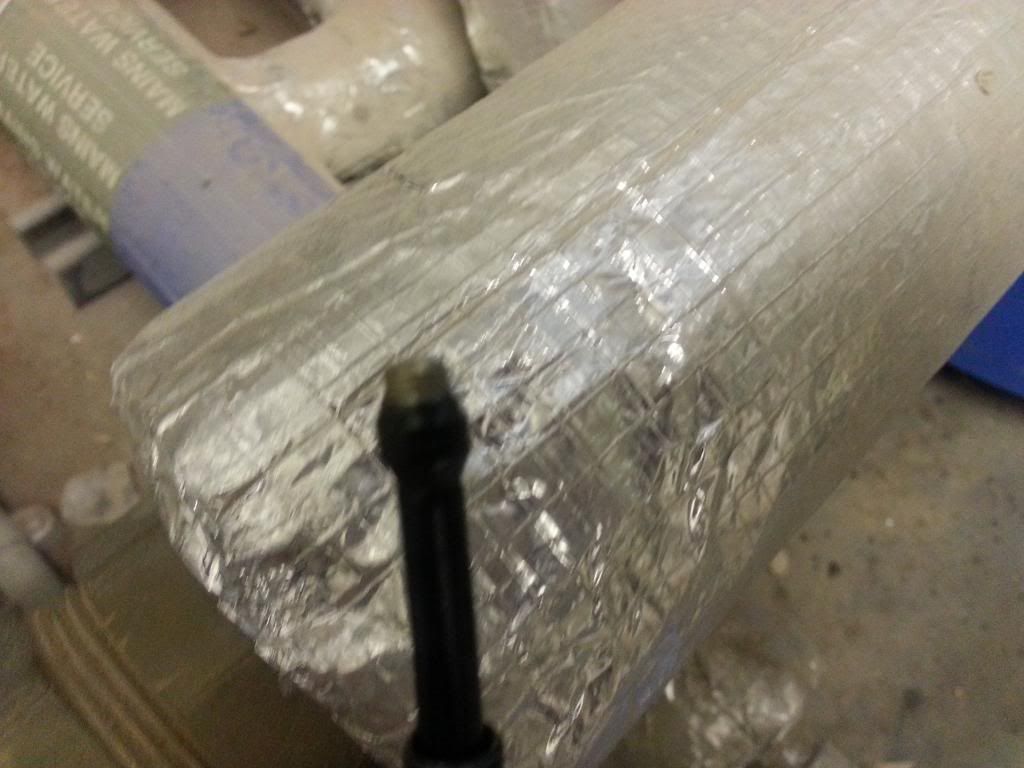
Few piccys, including the fitted switch sited at the seatpost ‘T’ (not tied in yet) :
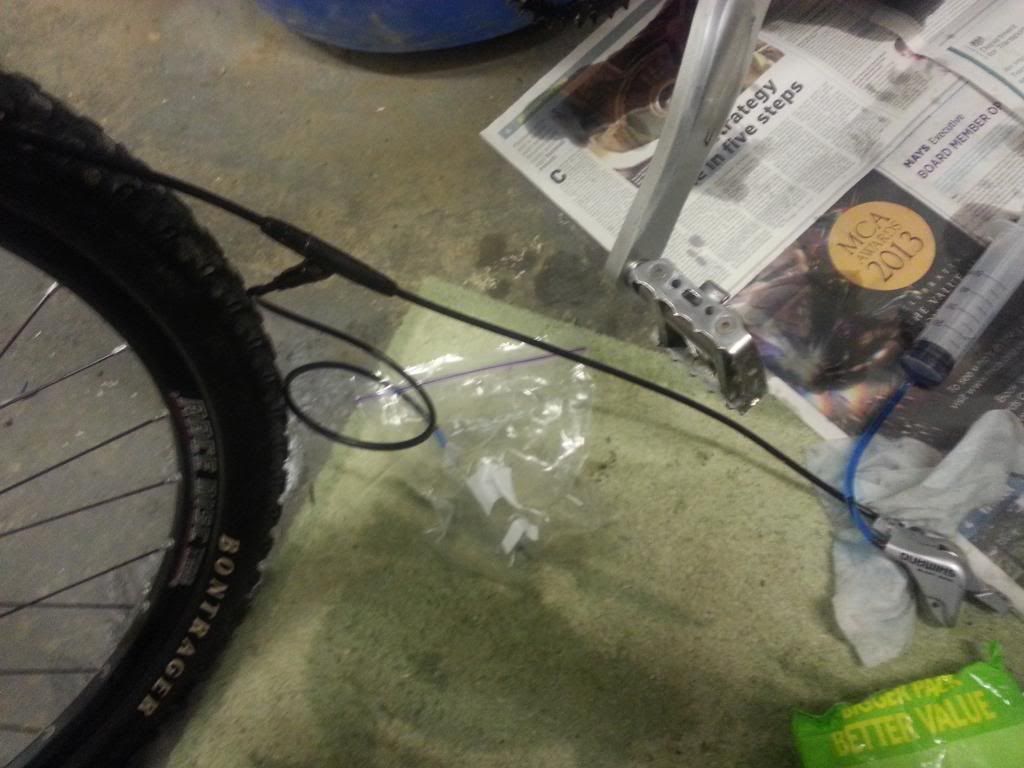


Been very cautious about doing this but seem to have got there in the end. Very grateful to Old_Dave for pointing this switch option out originally, encouraging me to get and fit it, d8veh for sending me the connector to make the mods work and tips on cable cutting, and tillson and mutmost for the tips / info.

Feel like I’ve really achieved something fitting that. Probably the most involved bit of work I’ve done on a bike next to building the motor into the wheel. Confidence is building fast now about maintaining the mechanics of the bike as well as building in more bits for it – would be nice to start feeling the same about the electrics – but it’ll come if I stick at it.

Really happy. Hope it all still works OK when I fit the brake disc on the hub motor !

Just the Hall Sensor connector to go now when it arrives and I should be good to rig up the cassette / brake disc and give this baby a road test !
 

amigafan2003

Esteemed Pedelecer
Jul 12, 2011
1,389
139
Wow - not meaning to be funny or anything but what a way to make a drama of a simple connector fit and bleed!

For reference, there is no need to remove the caliper from the bike or make it the highest point - you can just bleed the system with everything in situ. Oh, and with Shimano brakes you bleed from the reservoir towards the caliper - you've followed the method for Magura rim brakes. On Shimano brakes, forcing fluid from the caliper to the res pops seals. It's really as simple as:-

1: Fit bleed pipe to bleed screw.
2: Put bleed pipe in end of jar.
3: Remove reservoir cover.
4: Undo bleed screw.
5: Pump brake lever until no bubbles come out of the pipe, ensuring res always stays full with fluid (tapping the brake line a few times whilst doing this helps flush the air bubbles out),
6. Do up bleed screw, remove pipe and refit res cap after topping up the fluid.

Job done.

Oh, and did you really have dot 3 fluid in the system? Shimano brakes use mineral oil, not brake fluid.
 
Last edited:

Old_Dave

Esteemed Pedelecer
Sep 15, 2012
1,211
2
Dumfries & Galloway
did you really have dot 3 fluid in the system?
Easy way to tell is by the taste... brake fluid tastes far worse :p

Confidence is building fast now
The 1st time is the hardest..... after that its a bit like riding a bike, lol
 
Last edited:

103Alex1

Esteemed Pedelecer
Sep 29, 2012
2,228
67
Wow - not meaning to be funny or anything but what a way to make a drama of a simple connector fit and bleed!

For reference, there is no need to remove the caliper from the bike or make it the highest point - you can just bleed the system with everything in situ. Oh, and with Shimano brakes you bleed from the reservoir towards the caliper - you've followed the method for Magura rim brakes. On Shimano brakes, forcing fluid from the caliper to the res pops seals. It's really as simple as:-

1: Fit bleed pipe to bleed screw.
2: Put bleed pipe in end of jar.
3: Remove reservoir cover.
4: Undo bleed screw.
5: Pump brake lever until no bubbles come out of the pipe, ensuring res always stays full with fluid (tapping the brake line a few times whilst doing this helps flush the air bubbles out),
6. Do up bleed screw, remove pipe and refit res cap after topping up the fluid.

Job done.

Oh, and did you really have dot 3 fluid in the system? Shimano brakes use mineral oil, not brake fluid.
Dunno on the dot 3 - it was brown and looked viscous - assumed that was what it was.

All things are simple when you know how. I've never done this sort of stuff before amigafan, and read all sorts of conflicting and contradictory info on the net about what / how to do many things. With no-one to show you or a clear set of steps like you've written above it's a load of trial and error and a steep learning curve. I had to do a google search to see what part of the brake caliper was the bleed nipple.

To people who have been doing this stuff for years it must seem bizzare that it's such a big deal of learning for some of us. Sure there are quite a few people on the forum who would simply book their bike in to the cycle shop rather than consider bleeding their brakes, or call the AA rather than see if they could fix their car. Until this build I was (sadly) one of them.
 
Last edited:
D

Deleted member 4366

Guest
When you do it by the prescribed method, it sounds simple but you always get air stuck somewhere. With the additional switch, air was more likely to get trapped, so it would have been worth doing it the way you did. The first time is always the hardest because you don't know how tight to screw up the joints. The last thing you want is to split one of those threaded sleeves. The main thing is that you got it done and it's working. Keep an eye on the joints in case of slight weeps, which could cause brake failure in the future if the oil level drops too far.
 

Old_Dave

Esteemed Pedelecer
Sep 15, 2012
1,211
2
Dumfries & Galloway
Most (and I use the word loosely) skills that are self taught rely on building upon the foundations of a set of basic skills that were learned by either watching others or by some one taking the trouble to stand along side offering words of wisdom... (my poor old dad would almost cry with despair trying to teach me to saw to a line, lol, in defence... I was only about 10 and it took several years before I mastered it and now of course I don't understand why anyone can't do it... its simples :p

Learning these basic skills when stuck on your own in some remote god forsaken kitchen must be a nightmare .. well done m8 for sticking with it.

In a few years ( just like the rest of us) you will forget the learning pains :D
 
Last edited:

103Alex1

Esteemed Pedelecer
Sep 29, 2012
2,228
67
Most (and I use the word loosely) skills that are self taught rely on building upon the foundations of a set of basic skills that were learned by either watching others or by some one taking the trouble to stand along side offering words of wisdom... (my poor old dad would almost cry with despair trying to teach me to saw to a line, lol, in defence... I was only about 10 and it took several years before I mastered it and now of course I don't understand why anyone can't do it... its simples :p

Learning these basic skills when stuck on your own in some remote god forsaken kitchen must be a nightmare .. well done m8 for sticking with it.

In a few years ( just like the rest of us) you will forget the learning pains :D
Bit like trying to read without knowing the alphabet sometimes ! Great thing with skills rather than knowledge though, is that once you learn 'em you have 'em. Lived half my life abroad including my first 16 years where someone else looked after pretty much everything for all of us. It's not good in the long run - makes you inept and dependent, and you fail to pick up essential basic skills you'd otherwise learn without realizing as a youngster. Spent the last two decades trying to catch up in just about every aspect of life !

Learning these basic skills when stuck on your own in some remote god forsaken kitchen must be a nightmare ..
Be lying if I tried to say there hadn't been a few moments..... doing anything remotely is much harder and slower than with people beside you, but truth is with a virtual hotline to help and guidance you're not on your own, and for every frustration there's a reward when you crack something and that's the payback. Plus as an adult you know what you're doing and why, so you pay more attention when you learn :p

Still regularly think back to my early years with no TV or internet and the only communications from the outside world being BBC World Service on the wireless... and marvel at how much information and help is available for the looking and asking today.

In a few years time when I do take it all for granted, if these posts are still available, they'll be there as a reminder of who helped me learn and just how much it took ! :eek:
 

Scimitar

Esteemed Pedelecer
Jul 31, 2010
1,772
40
Ireland
Most (and I use the word loosely) skills that are self taught rely on building upon the foundations of a set of basic skills that were learned by either watching others or by some one taking the trouble to stand along side offering words of wisdom... (my poor old dad would almost cry with despair trying to teach me to saw to a line, lol, in defence... I was only about 10 and it took several years before I mastered it and now of course I don't understand why anyone can't do it... its simples :p

Learning these basic skills when stuck on your own in some remote god forsaken kitchen must be a nightmare .. well done m8 for sticking with it.

In a few years ( just like the rest of us) you will forget the learning pains :D
Indeed. Apart from learning the basic tool skills, there are always improved items of equipment and materials appearing too, so even those with the necessary skillset have to keep up to date with what's going on.
 

103Alex1

Esteemed Pedelecer
Sep 29, 2012
2,228
67
Beer is acceptable

When I finally finish this bike and get it all boxed in, might be my cue to break my abstinence and reward myself with a bevvie (not had a drink for over 5 months as part of a LONG self-imposed "sort your health out" bootcamp ... it's no wonder I've been getting uptight lol). A proper incentive to pull my finger out and finish it :D. Staying off the fags though - not missing them now.

Might have to send some supplies up if I can't get to the midlands and the motherland on the bike ;)
 
Last edited:

103Alex1

Esteemed Pedelecer
Sep 29, 2012
2,228
67
Keep an eye on the joints in case of slight weeps, which could cause brake failure in the future if the oil level drops too far.
Been back to check today and there'a a slight weep developed on the brake lever side of the switch. Anything most likely to have caused this ?

May have rejoiced too soon ;) ...
 

103Alex1

Esteemed Pedelecer
Sep 29, 2012
2,228
67
Well I've dismantled everything and found the source of the problem. The replacement hose insert has disappeared inside the olive from the original switch and will not come out. That must be why the leak was occurring at that point.

Looks like I must have pulled on it at some point or maybe it wasn't a genuine part and didn't work well. I am stuffed again and back to square one after all that work. I guess now I'll have to buy both another olive and another insert to try again. If it fails after that then I guess I've not much choice but to buy new brakes and shifters. Not going for another one of these switches having looked at how precise the fitting needs to be to keep working and seal without leaks.

Turning into a battle royal getting this bike on the road :(.
 

103Alex1

Esteemed Pedelecer
Sep 29, 2012
2,228
67
Ummmmmm.... brakes generally need care when assembling :p
Just call me ham-fisted :p ... never occurred to me that the insert could wind up retracted through the olive. Heaven knows how I managed that seeing how impossible it is to get out again..

Think I might have tugged on it when I spotted seepage at that point the first time when the screw hadn't been tightened enough over the olive to see whether it could be pushed in again without taking apart or something. Was pretty tired by then to be honest after several goes at getting it air-free (which of course would never have been achieved without sufficient torque on the connection join - the usual astronomically priced tightening tool to buy or a torque wrench which can measure 40nM not being in the armoury !).

Only other thing I can think of is that maybe I didn't cut the end of the hose off cleanly or squarely enough (will see when I try to put the replacement insert in). Maybe re-cut that join as best I can when trying again as a precaution - failing that I can't see what else could be wrong.

To be fair it's probably a fiddly job even when you've done it before. Just hoping "take 3" gets it right in the end.
 
Last edited:

Old_Dave

Esteemed Pedelecer
Sep 15, 2012
1,211
2
Dumfries & Galloway
I'd say that if the insert has disappeared up the pipe then the insert was the wrong size..or its not there :p

Maybe this insert would be better ?

Shimano Universal Olive and Insert | Buy Online | ChainReactionCycles.com

The inserts have a tanged / barbed section that the outside diameter is an interference fit into the internal diameter of the brake pipe.. thus it should be impossible for the larger section of the insert to fit into the brake pipe (the larger end size acts as a stop)


So maybe its lodged itself in the switch rather than in the pipe ?

Here's a piccy of the insert for shimano pipe


Of course its impossible to know the sizes.. just from the pictures
 
Last edited:

103Alex1

Esteemed Pedelecer
Sep 29, 2012
2,228
67
I'd say that if the insert has disappeared up the pipe then the insert was the wrong size..or its not there

Maybe this insert would be better ?

Shimano Universal Olive and Insert | Buy Online | ChainReactionCycles.com

The inserts have a tanged / barbed section that the outside diameter is an interference fit into the internal diameter of the brake pipe.. thus it should be impossible for the larger section of the insert to fit into the brake pipe (the larger end size acts as a stop)


So maybe its lodged itself in the switch rather than in the pipe ?

Here's a piccy of the insert for shimano pipe


Of course its impossible to know the sizes.. just from the pictures
The insert was seated fine in the hydraulic tube. The olive (black part) slides on the tube before the insert is placed in the end of the tube. When you tighten up the nut (see exploded photo earlier) it compresses the olive against the head of the insert, forming the seal. Like so :


However, if the insert pulls through the head of the olive (coz it's the wrong size or it got yanked somehow) then you end up with the problem I have :


The insert will not come back out of the olive once it is inside (it's a one-way journey in there !!) .. it was still attached to the tube fine (I pulled both off after discovering this is why the system was leaking).

Since the insert seats fine in the tube I don't think insert/tube compatibility is the issue .. the problem must be the olive-insert combo, so have ordered one of each (both Magura) in the hope this works instead. Others have used this system on non-Magura hose so hoping that is not the issue.... as swapping the hose is a significant job ... and might not be so good fit at the caliper/lever ends (untested). At that stage you may as well think about just giving yourself a break and fitting different brakes.... except in my case that means replacing the shifters too.

My only other worry was that if the hose end wasn't squared off well enough and fluid was leaking into the the olive from behind the head and collected in there, maybe the pressure build-up from pumping the brake levers on a leaking connection forced the olive up over the insert head. Hence idea to re-cut the hose end as a precaution. It would take some almighty force from somewhere to force an olive over an insert head !!!!
 
Last edited:

Old_Dave

Esteemed Pedelecer
Sep 15, 2012
1,211
2
Dumfries & Galloway
It would take some almighty force from somewhere to force an olive over an insert head !!!!
Sounds like when the olive got compressed... it must of been on the head of the insert rather than a bit further down away from the head......

Take the other side off and have a look as to the position of the olive .. and are both inserts the same ?

The ridged section of the insert looks like it should fit deeper into the switch than it has been allowed to do, which of course caused the olive to be in the incorrect place.
 

103Alex1

Esteemed Pedelecer
Sep 29, 2012
2,228
67
The tightening bolt forces the olive to contact the head of the insert - it cannot sit loose in the switch assembly somewhere further down. With no olive compressing the insert head against the switch, fluid would simply escape. There are no rubber seals anywhere - the whole thing works on compression of metal to metal.

Inside the T section of the switch (can't photograph) is a thin metal plate with a hole drilled in it. The inserts from either side compress against this plate located near the hole so fluid squirts from one hose end through the switch plate hole into the other hose end. The alignment is obviously critical, as is sufficient torque when tightening the compression nut against the olive to keep the system closed.

It's a pretty fiddly arrangement which would have to be precisely installed to work without failing.
 

103Alex1

Esteemed Pedelecer
Sep 29, 2012
2,228
67