(Sorry - this has got a bit long!)
The timeline -
Tuesday morning : Order the kit
Tuesday afternoon : Make acrylic disc to hold the magnet disc inside the chainwheel.
Wednesday afternoon : Receive the kit, mount the new wheel and battery holder; change brake handles; fit throttle and LCD.
Thursday afternoon: Fiddle with pedal sensor and complete wiring up.
Thursday evening : Quick test ride - all working!
The kit -
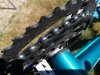
Very smart motor wheel with big fat spokes.
Clever integrated battery holder/power controller (much nicer than a "controller-in-a-bag").
OK brake handles : not as pretty as the Shimano ones which came off, but not horrible.
Functional looking LCD and a neat throttle unit.
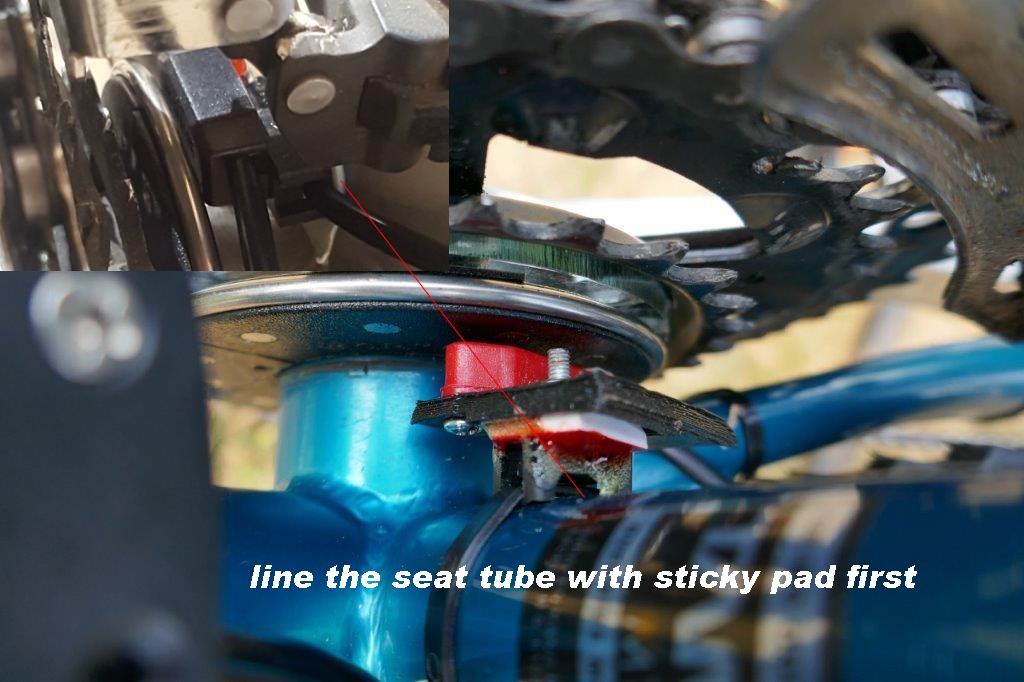
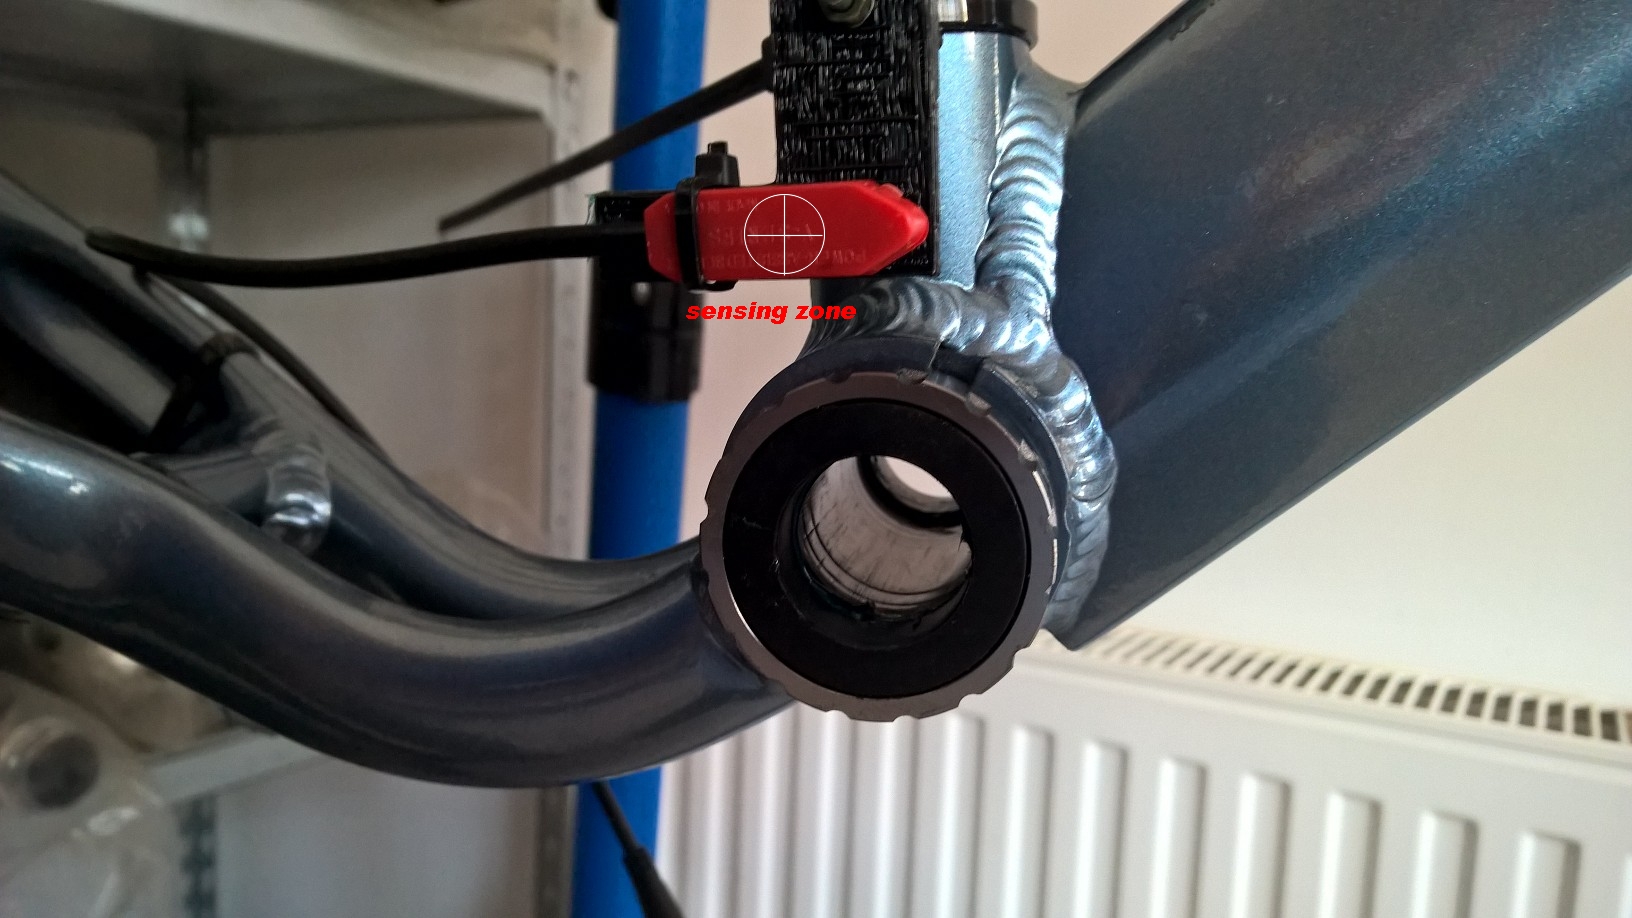
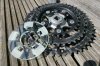
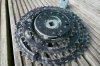
Magnet disc with a slightly dubious looking seat-post mounting sensor.
The build -
On my bike, the left-hand pedal crank nearly touches the bottom bracket and the inside chainwheel lines up with the other side of the bracket - no room at all for either of the standard sensor arrangements. The inside of the chainwheel has tags sticking up near the rivets (can't see any use for these at all, but it would have been a pain to try to grind them off), so I made a 5mm thick acrylic disc with holes to clear the tags and engraved areas to provide a key for epoxying the disc onto the rivet heads. The hole on the magnet disc was enlarged to clear the bottom bracket and held on with double sided sticky.
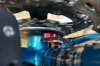
The pedal sensor was a pain. The rather tatty 3D printed mounting plate seems to be a mirror image to what is really needed. I had to drill a new hole for the cable tie thing and then mount the sensor upside down in order to get it in line with the magnets. Luckily I have lots of plastic sheet in various thicknesses, so I was able to make spacers until I managed to get the sensor a couple of millimetres away from the magnets. For the moment it has been squirted with Evostick contact adhesive (reasonably easy to remove later if necessary) to stop the mounting plate and spacers moving relative to the cable tie thing. Altogether a bit of a bodge and I hope to come up with something better later. The sensor itself doesn't look waterproof - will this be a problem in the future? (perhaps I should have run some glue over that too).
Although I was frustrated at the time, I do realise that it is very difficult to design a general purpose sensor which will suit everyone who can't fit the standard options.
Having completed the fiddly bit, the rest of the build was pretty straightforward.
My bike has a 7-speed sprocket, but the splines on the motor are for an 8-speed one - something I had not even considered before I found the problem. Rush to the LBS, buy a spacer and all good.
I did need to fit one of the supplied rivnuts to the bike frame to hold the battery support properly - wasn't keen about the drilling, but it went smoothly enough and I managed to tighten the rivnut without the proper tool AND without scraping any paint off the frame (I put some zinc anti-rust in the hole first). The battery support looks a little on the flimsy side considering the weight of the battery, but it must have been tried and tested so it should be OK.
The rim on the new wheel is wider than the old one, so I had to fit a new brake cable.
Testing on the stand showed that the walk mode was fine, but the motor started up when pedalling backwards. I had guessed that might happen because of having to mount the sensor upside down, so off with the chainwheel, reverse the magnet ring and that problem fixed. Time for tea.
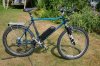
After tea, a quick test ride very locally. Even with my bad knee, I was able to zoom (or Woosh?) up the steep hills with ease - including the worst bit where nearly everyone gets off and pushes!
The speed sensor came loose during the test ride. Some double-sided sticky on its bracket has solved that one. Also, the new brake cable stretched and the gears needed tweaking. All sorted now and I'm itching to get the chance of a proper ride.
Things I needed which were NOT in the kit -
* An industrial quantity of cable ties.
* ~150mm of large diameter heatshrink tube to tidy away the spare cable.
* Double-sided sticky - the thin black sponge type for numberplates.
* A spacer for the rear sprocket.
* A brake cable.
(This ignores the pedal sensor stuff, since that is unique to my bike).
CONCLUSION
I'm a happy bunny!
Whoosh have put together a well thought out kit at a fair price.
Their instructions (on-line only - not with the kit) are more than adequate for anyone with some understanding of bikes to make a good job of it and it's nice to know that there is email support should I ever need it.
UPDATE
Yesterday I put Slime in the tyres and then got out for a decent first ride - about 10 miles over the hilly bits near home.
FANTASTIC!
Plenty of power to get up the hills at speed, but the control is much more subtle than I had first thought on my short test ride. Perfectly possible to ride gently and still get a high level of assistance (which I need because of my bad knee).