Saving a Giant Lafree

SaxMan

Pedelecer
Jun 27, 2013
35
5
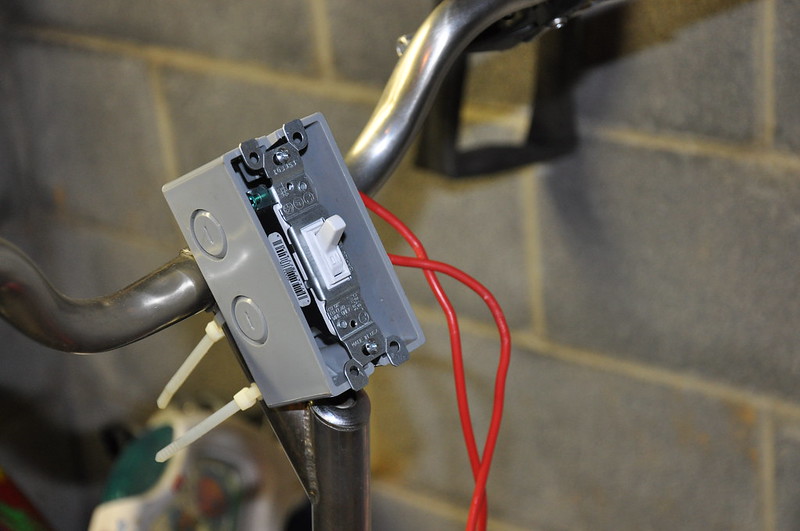
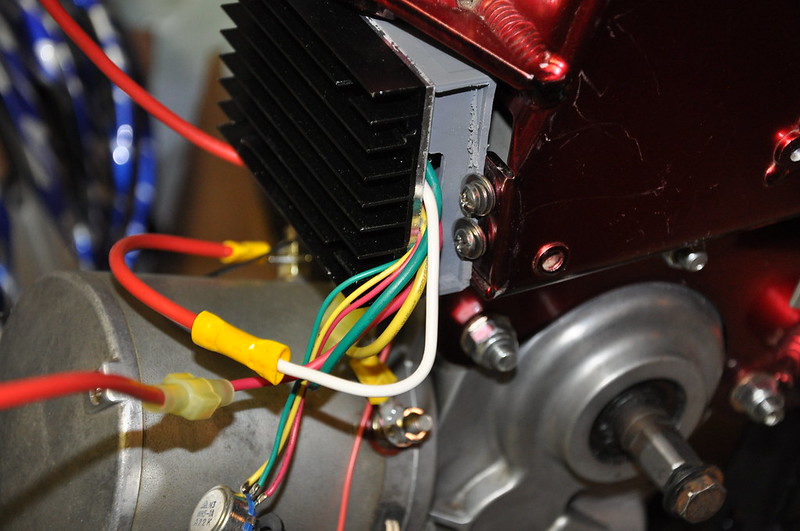
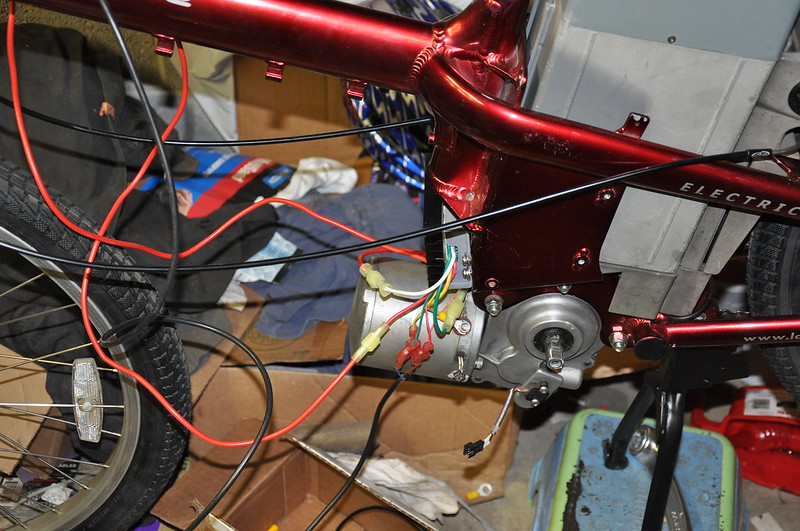
Tonight, I popped open the throttle and I realized it won't work. It appears to have some kind of solenoid rather than a wire hookup. I believe this hooked up to the motor at what I previous thought was the motor cutoff solenoid. No worries, eBay is your friend. I found a simple 24V two-wire thumb throttle for less than $10 USD, a digital voltmeter readout for less than $5 USD, too. I then went to Radio Shack and a ordered bunch of wiring and other components for about $60 USD. So far, my total investment is just under $200 USD.

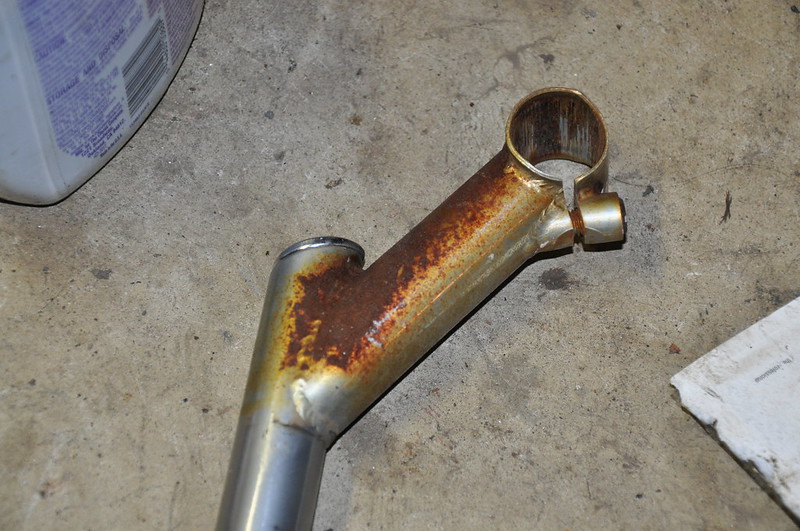
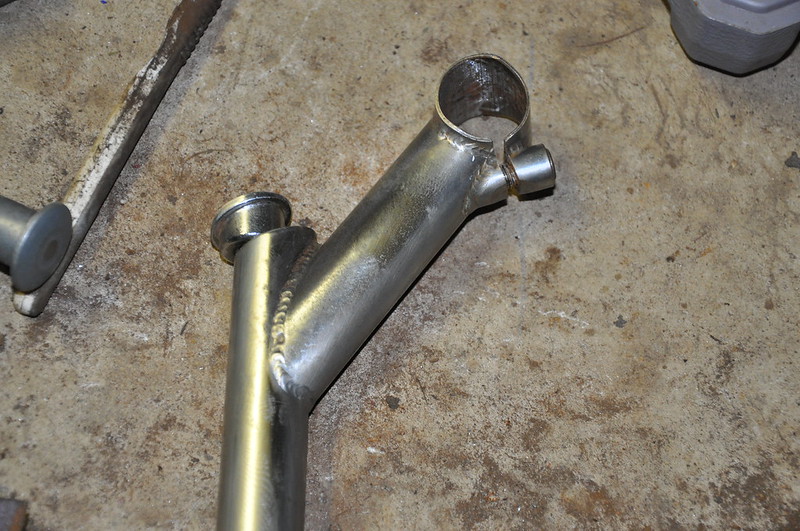
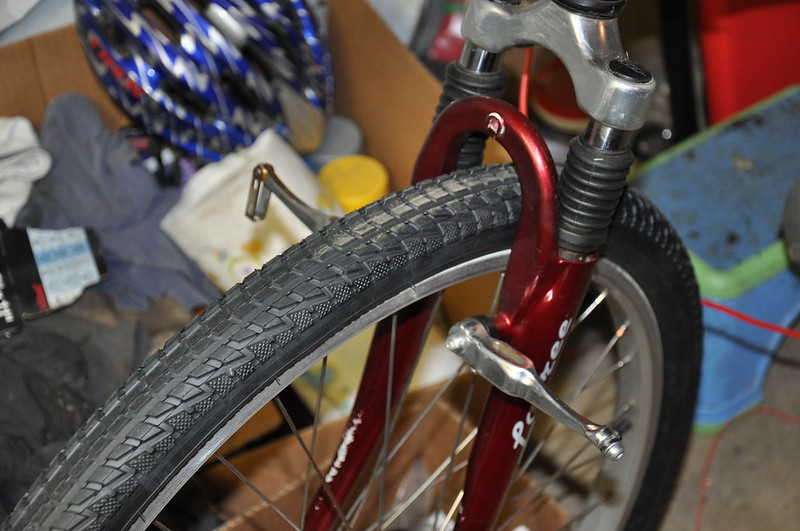
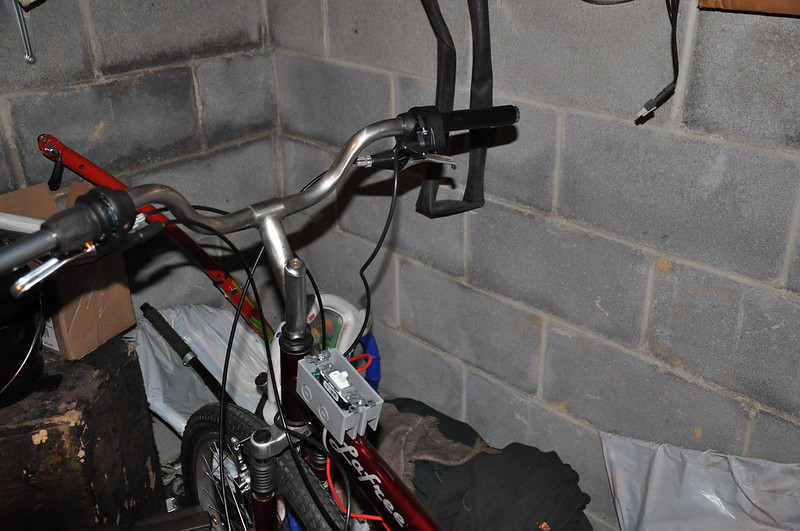
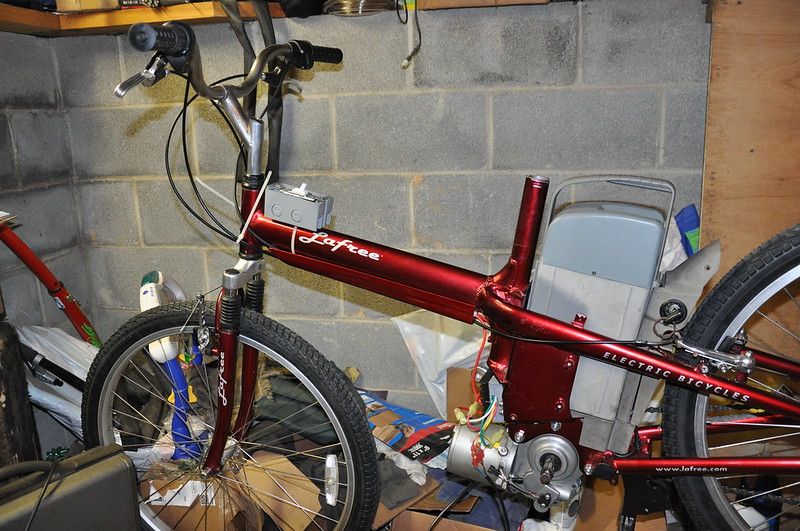
I've got the entire front end of the bike (fork, stem, headset, handlebars, brake levers, grips) all reconditioned and ready to be put back on the frame. Once they are in place, I can start putting Frakenstein's monster together.
 

SaxMan

Pedelecer
Jun 27, 2013
35
5
My first attempt at the re-wire didn't quite work. I learned that just because the throttle says 24 Volts, doesn't mean you can send 24 Volts through it. Oops. I'm hoping I didn't burn the unit up. Otherwise, it was $10 down the drain.

I talked to Geoff Elliott of Green Cycles in Annapolis, Maryland, USA and he pointed me in the right direction. I picked up a Voltage Control Module online. That should do the trick and be able to bring this Lafree back to life.

Meanwhile, it's starting to resemble a bike again. I completely overhauled the entire front end of the bike and reattached it to the frame:

DSC_1424 by onyxsax, on Flickr

Here's another sample of some of the rust issues I've had to address:

DSC_1411 by onyxsax, on Flickr

Same stem after the liberal use of elbow grease:

DSC_1413 by onyxsax, on Flickr
 

shemozzle999

Esteemed Pedelecer
Sep 28, 2009
2,826
686
Obviously a lot of elbow grease needed Saxman, please keep the pictures coming as there is not a lot of info on the web about this bike,
 

SaxMan

Pedelecer
Jun 27, 2013
35
5
Right now, I'm waiting for a lot of the parts to come in from China, so I've started working on the more typical bicycle components, such as the wheels and the drivetrain.
 

SaxMan

Pedelecer
Jun 27, 2013
35
5
Finally have all the parts together to start wiring things up. This could get very interesting.

On a side note: I was back at the police station and noticed that the rest of the bikes that were in the abandoned property section were gone. When I asked my supervisor about them, she confirmed that they had all been sent to the recyclers. So, in this case, the LaFree was literally saved from the scrap man.
 

SaxMan

Pedelecer
Jun 27, 2013
35
5
So I had my "moment of truth". I wired up the bike, put in the battery back and...nothing. So, I pulled out the battery pack and alligator-clipped a power supply to the battery terminals. This time it worked. Using a multimeter, I am still showing 25 volts off the terminals. My guess is there is an issue with the electronics on the battery pack and the center terminal is not hooked up to anything.

Any thoughts? I'm too far in to throw in the towel, but I don't want this to turn into a money pit, either.
 

SaxMan

Pedelecer
Jun 27, 2013
35
5
IT"S ALIVE!!!!!!!

I took apart the battery pack and tightened up the terminals where they hook into the blade connector. When I put it all back together, it worked!

So, now I'm wondering if I should go back and try the original wiring harness again and see what happens. OTOH, the simpler wiring harness that is in there now does offer a number of advantages, mostly speed and simplicity.
 

SaxMan

Pedelecer
Jun 27, 2013
35
5
Video of the first run. Pardon the cheesy "Mad Scientist" impersonation. I was bouncing off the walls happy that this actually worked.

[video=youtube_share;kQRy4pv2Cjw]http://youtu.be/kQRy4pv2Cjw[/video]
 

flecc

Member
Oct 25, 2006
52,803
30,375
Congratulations on getting it going SaxMan, persistence paid off. Your more simple wiring is probably going to be best anyway, these didn't have a good reputation for reliability originally. Have you left the bike's built-in charger in circuit and in use?

Ditto the video, just get "this video is private".
 

SaxMan

Pedelecer
Jun 27, 2013
35
5
Settings have now been changed to public on the video.

Yes, I am going to keep the simpler wiring harness. I just need to find a master switch that will accommodate the 10 gauge wire. I also was able to retain the original battery back/charger for the bike.

Meanwhile, I can now finish the rest of the bike up while I continue to tweak the wiring.
 

SaxMan

Pedelecer
Jun 27, 2013
35
5
Went back to the hardware store and picked up a "regular" light switch and box. Ran the wires, applied the power and it worked. It's a crude but effective solution for a master kill switch.

I also have reattached the wheels, derailleur and chain. I don't have the derailleur cable hooked up, so it is "defaulting" to 7th gear. When I apply the power, that wheel sure does spin fast!

I did the mathematical computations based on the motor RPMs, the 3 to 1 pedal to gear ratio, and the front and rear gears teeth count. I end up with a theoretical top speed of about 25 mph under power. That is without a load or wind resistance,
 

flecc

Member
Oct 25, 2006
52,803
30,375
As standard here these models tended to be on the low speed side, so that may drop well down under load. That was one reason why the lighter and faster Yamaha's won the UK market at the time. Hopefully your USA model will be faster though, and that off load speed looks promising.
 

SaxMan

Pedelecer
Jun 27, 2013
35
5
I hooked in the Voltage Control Unit tonight. Worked like a champ! We're slowly, but surely working towards getting this bike back out on the road. Pics to follow soon!
 

shemozzle999

Esteemed Pedelecer
Sep 28, 2009
2,826
686
I hooked in the Voltage Control Unit tonight. Worked like a champ! We're slowly, but surely working towards getting this bike back out on the road. Pics to follow soon!
Hi Saxman,

I am sure all your effort to get the bike back on the road will be paid back 10 fold when you get to ride it - well done!
 

SaxMan

Pedelecer
Jun 27, 2013
35
5
Latest pics:

I'm using a stool as a workstand to get the rear wheel up in the air:

DSC_2004 by onyxsax, on Flickr

I ended up going with a standard AC power switch to be my "master kill" switch. Not the prettiest way to go, but very effective. Since this pic was taken, I've moved it from the stem to the top bar.

DSC_2020 by onyxsax, on Flickr

Voltage Control unit hooked up. I have the original potentiometer still hooked up for testing purposes, but it will be replaced by a proper throttle unit:

DSC_2021 by onyxsax, on Flickr

...and also some "bike" work being done. Front brake arms cleaned and reattached:

DSC_2037 by onyxsax, on Flickr
 

SaxMan

Pedelecer
Jun 27, 2013
35
5
I haven't done an update in a while:

I hit a snag that I couldn't seem to get around: Once I disconnected the original potentiometer, I couldn't get the twist throttle to work. Heck, I couldn't get ANYTHING to work. I decided to take a step back from the project for a couple of weeks and tinker with my new toy: a 1969 Austin Healey Sprite.

Once I returned to the project, my problem was glaringly obvious: The blades which go up into the battery pack were not properly aligned and the pack was no longer delivering power to the wiring harness. I tore the harness back down to the basics to see if that was the problem. Sure enough, once I went back to square one, the bad connection had stopped me. I rewired the harness again and used male/female connectors for the throttle unit and SUCCESS!!!!

This was the last electrical obstacle that I had to overcome. Everything else is now basic bike repair work. I'm hoping to have the bike fully up and running in another month or so. Just in time to freeze my butt off while testing it!
 

SaxMan

Pedelecer
Jun 27, 2013
35
5
10/17:

With the electrical system down pat, the rest of the bike is now coming together very quickly and we are on the home stretch. I've put all the fairings back on, which took some doing as my wiring was considerably heavier gauge than what was originally run, but nothing a few wire ties couldn't fix. Right now I'm fixing a few tears in the saddle with a vinyl repair kit.

The only hiccup I have to deal with is replacing the grip shifter pod, and I just ordered a new 7 speed grip shift unit on eBay for $19 (US). Everything else is cosmetic at this point. The worst are the chrome motor covers, which are badly rusted. I'm going to strip the chrome off them and just shoot them with primer to match the grey trim on the rest of the bike.

First post-restoration test ride could come as early as next week. New pics to be posted soon!