BMS Q100C 36V350W conversion kit

chris196

Finding my (electric) wheels
Jul 2, 2014
23
0
59
I am considering this kit for my wife's bike:
http://www.bmsbattery.com/ebike-kits/616-250w350w-q-85100sx-motor-e-bike-kit.html

the specs are perfect for what I want, I think.
Some concerns I have are the reliability of BMS battery. seems to be a mixed bag of experiences with them.
I like the idea of the controller in the bottom of the battery holder, but have seen some references to it being really tight and hard to get a clean install with it.

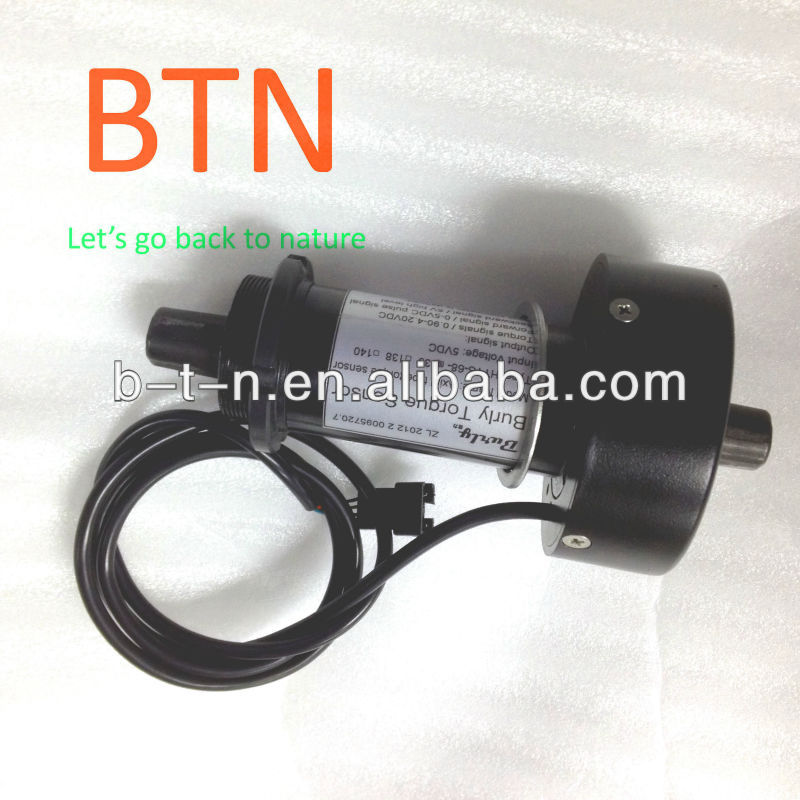
This kit has PAS, but not a toque sensor. Is a torque sensor that much better than a cadence sensor?
What are the options for DIY torque sensors?

My wife demoed this bike and liked it very much:
http://www.emotionbikesusa.com/ebikes/EN413

I would be doing this conversion on a steel mtb bike which I've set up as a commuter for her.
I built that bike myself ordering all components including frame and assembling from scratch. So, I generally know my way around a bike.

I was also considering this kit:
http://dillengerelectricbikes.com/shop/electric-bike-conversion-kits/350w-15mph-electric-bike-conversion-kit-8ah/
simply for the convenience of ordering in the US (I'm located Austin, TX) and possibly better support should the need arise.

This bike will be commuting to work. Any where from 15-20 miles roundtrip with some hills involved.
My wife is athletic so adding input is not a problem. The bike is for transportation during our very hot summers (100F).

Any advice is welcomed.

Thanks.
 

D8ve

Esteemed Pedelecer
Jan 30, 2013
2,142
1,294
Bristol
If your wife is fit and no significant hills then go for more than 15 mph as you are USA. The BH is torque sensor, realy intuitive just pedal and go. No need to learn any new control ideas. Speed is just assist on or off.
 

jackhandy

Esteemed Pedelecer
May 20, 2012
1,820
323
the Cornish Alps
IMHO :rolleyes:
A decent speed-sensor assistance system is just as "intuitive" as a torque-based one & better than many half-arsed torque sensors.

As your speed drops, which will be either uphill or when you're tired, the controller feeds-in power from the motor to assist:
The further your speed drops below the threshold set at the handlebar control, the more the motor assists.

The Ezee controller is one of the nicest - Feeding or decreasing power so smoothly that it's often unnoticed: Until you switch it off.
 
D

Deleted member 4366

Guest
I agree. Pedal rotation sensors are perfectly adequate, and I prefer them to any torque torque sensing system that I've tried.

According to my theory, if your wife wears lycra when riding, she will need a torque sensing system, but if she wears normal clothes, she needs a pedal rotation sensor.

Be careful, some torque sensing systems only work as a switch to turn on the motor when you pedal. The power level is set via a control panel and is not proportional to pedal force, so they work the same as a pedal speed sensor.

When converting a bike with a kit, there are various options for torque sensors, but all have draw-backs and none have the level of software sophistication you need. To get the right feel, you need software algorithms that consider speed, cadence and pedal force together.

You can get a Thun torque sensor connected to a Cycle Analyst. The cost is over £200, the sensor is quite heavy and you have to play a lot with the software to get the right feel.

Some motors like the Xofo and Keyde have their own torque sensors built in. The Xofo knocks when you climb a steep hill because of the internal spring movement, and the Keyde has a lot of reliability issues reported.

The Falco and Bionx kits have their own torque sensors, but they're very expensive, are not reported to be totally reliable and are nearly impossible to fix yourself.

When you install a DIY kit, IMHO it's best to keep things simple and modular. If you have a standard motor, controller and sensors, it will be easy to repair and upgrade/change.
 

trex

Esteemed Pedelecer
May 15, 2011
7,703
2,671
this torque sensor seems promising.
Has anyone tried it?


chris196

Finding my (electric) wheels
Jul 2, 2014
23
0
59
Thanks for the replies.
I am aware the BH has a torque sensor and I thought it was nice as did my wife, thus my concern that a rotation sensor might not be adequate. I think I'm over that fear now.
She is fit as she rides to swim practice, swims about 3500 meters, goes to work, then rides home. It's about taking some of the effort out for her at the end of the day. This is strictly commuting. When she wants to ride Lycra, she has a proper road bike.

She does not want high speed, just assist on hills and during high heat.

I didn't see anyone express concerns about that kit from bms. Also didn't see any one specifically endorse it.
I would prefer rear drive over front drive.
The USA kit I listed just seemed like best value from American suppliers.
 
D

Deleted member 4366

Guest
Customer service after purchase from BMSB is pretty low. Warranty is non-existent. Failures and mistakes are rare, but do happen. The stuff is cheap, so if anything goes wrong, you can buy a replacement and still be ahead of some alternatives. The best thing about them is the wide choice of batteries to go with the motors. You can buy kits in the UK for not a lot more, but you don't get such nice controllers, displays, sensors, etc.

I can't remember any problems with their stuff reported here, but there have been one or two on Endless-sphere; however, they're a bit cliquish with their suppliers there, and often the guy complaining made a mistake in his order or didn't understand what he'd got. So the complain was hardly justified.
 

chris196

Finding my (electric) wheels
Jul 2, 2014
23
0
59
One more question:
I asked BMS if this hub was compatible with a shimano 9 speed freehub & cassette. They said yes, but given that most hubs are not, does anyone have specific knowledge of this hub?

thanks,
chris
 

chris196

Finding my (electric) wheels
Jul 2, 2014
23
0
59
Ok, another quesiton:

Does front hub versus rear hub make a big difference in how the bike feels and responds. Given that everything else is the same in the setup (motor power, battery, controller, etc)

thanks
 
D

Deleted member 4366

Guest
One more question:
I asked BMS if this hub was compatible with a shimano 9 speed freehub & cassette. They said yes, but given that most hubs are not, does anyone have specific knowledge of this hub?

thanks,
chris
The Q100C is for cassette gears (Free-hub) up to 10-speed. That's the whole point of it compared with the normal version Q1oo that has the thread for free-wheel gears.

Ok, another quesiton:

Does front hub versus rear hub make a big difference in how the bike feels and responds. Given that everything else is the same in the setup (motor power, battery, controller, etc)

thanks
Not in the way it feels and responds, because it's relatively light and low power. To fit a front one, you need to file the drop-outs and install it properly otherwise your drop-outs will pop off. A back one, especially the cassette version is pretty straight forward to fit.
 

chris196

Finding my (electric) wheels
Jul 2, 2014
23
0
59
I have received this kit and have a few questions and problems.
First problem is they sent me the wrong charger. They sent the european spec and I'm in the US. They asked if I could solder 2 points together inside the controller and then get my own power cord. Haven't tried this yet.

The biggest issue is it seems the rim isn't centered. It's centered to the hub motor, but not with respect to the 135mm dropout. Thus the rim is too far to the non sprocket side and doesn't mate up with the vbrakes. I have tried a couple of washers and spreading the dropouts. This helps, but doesn't completely solve the problem. I'm not a wheel builder, but I may have to become one. Is the solution playing with spoke tension and bringing the rim to one side. If so, will the spoke lengths have to be changed?

I have hooked it up in a marginal way and at least have seen the motor actually turn with the throttle input, so that's good news.

Sure did take a long time from order to actually having this in my possession. It has already been an adventure and it continues.

Thanks
 
D

Deleted member 4366

Guest
You can add even more washers/spacers to centralise the rim. it'll mean stretching your frame a bit further, but it won't do any harm. Alternatively, you can dish the wheel, for which you need a 13g spoke key. I always recommend people buy one from BMSB with their kit because theirs only costs $1. They don't normally have that size at a regular bike shop.

The procedure is simple. You go round one side loosening one turn, and then the other side tightening one turn. Each round moves the rim a couple of mm. You don't need to change the spokes. You always have to true the rim at the end, so you need to mug-up on the Youtube videos or Sheldon Brown's guide.

Spacers are better than dishing because dishing causes there to be a different tension on the spokes each side. The difference is small for a small dish, but accelerates upwards the further you go, so a combination of dishing and spacing is better than just dishing.

Spacing is tricky with a disc brake because the disc has to line up with the caliper, but can still be done with a spacer behind the disc and a few washers between the caliper adapter and the frame.

Finally, the wheelbuilding from BMSB is not the best. It might be a good idea to go round the spokes first and tighten them until each nipple is just becoming tight. You'll find that some are nearly loose. Go round 1/2 turn at a time until they're all just becoming tight. Obviously, if they're already tight, don't tighten them any further. If the tension is even, the rim will remain fairly true
 
Last edited by a moderator:

chris196

Finding my (electric) wheels
Jul 2, 2014
23
0
59
Another update and a few questions.
This has been a slow process because I didn't want to add all the components until I had the correct charger from BMS. They did finally send the correct charger and it seems to be working.
I dished the rear wheel and added the necessary spacers to get my 9spd shimano cassette working fine. The wheel is centered now and rolling well.

I have 2 remaining problems. The speed is not accurate on the display. I know this because I setup my old cyclometer as well as a check. Also, the PAS function is not working. I could possibly have the two of these switched in connecting to the controller. There is no documentation what so ever and it's a bit of a guessing game as to how to hook things up. Some things are obvious, but there are a few connectors which are identical.
In the end I do think it's hooked up correctly. I need to recheck the setup of my LCD controller. Maybe it thinks it has a bigger wheel than it really does.
I also think my PAS is due to poor installation of the wheel with the magnets. I could not get proper clearance on it, so tried to notch it to fit behind the small front chain ring. This didn't go so well. I think I will redo this and just superglue the magnets to the small chain ring.
If I were to do this again, I would convert the bike to a 1x9 and skip the front derailleur. Then I'd use the space of the small ring for the magnet disk and put a bash guard in place of the big ring. I may end up doing that anyway.
Is there a good source for the magnet disks from either US or UK? Dealing with BMS is somewhat painful.

I currently have it working in throttle only mode and performance is ok.
Haven't really done a distance test yet. On flat ground it achieves around 15mph with just the motor. Hills definitely challenge it. But, I've been able to go up some fairly steep hills with just the throttle, albeit at a very reduced speed. I do wonder how much stress that puts on the little motor and the plastic gears inside.

Getting the PAS working is a big deal for me, so I'll have to see about that.

The bike weighs about 40 pounds now. It was about 25 before adding the kit.
 
D

Deleted member 4366

Guest
All the documentation is available for download from their website. The wiring diagram is on the controller listing page, and the instructions for the controller/LCD settings are on the LCD page.

Did you know that the orientation of the magnets is important and that you can't just stick them anyhow? Did you try pedalling backwards to see if you have the magnet disc the wrong way up?
 

chris196

Finding my (electric) wheels
Jul 2, 2014
23
0
59
This is the LCD I have, I think as it's not actually specified in the parts list. But from looking at it, I'm pretty sure this is it:
http://www.bmsbattery.com/controller/548-s-led770-e-bike-led-meter.html

this is my conversion kit:
http://www.bmsbattery.com/ebike-kits/616-250w350w-q-85100sx-motor-e-bike-kit.html

I'm pretty sure this is my battery/controller:
http://www.bmsbattery.com/36v/675-bottle-ebike-battery-controller.html
mine is the 10Ah battery, but it has the S06P controller like this one.

I do see some documentation for the led control panel.
I don't see any documentation for the S06P, which is what I meant when I said there is no documentation for the controller.

I didn't see any documentation with regard to the PAS.
The disc itself has an arrow for rotation direction and I assume the open end of the magnet must face towards the sensor.

If I have missed the documentation on the website, please point me to it.
I do really appreciate your help and time you've taken to read my posts.
I'm not trying to be difficult with this all, I just don't see the documentation.

BTW, I did go through the LCD setup instructions from here:
http://www.bmsbattery.com/controller/548-s-led770-e-bike-led-meter.html
I just need to reconfirm that I did it correctly.

Thanks
 
D

Deleted member 4366

Guest
The wiring diagram (explanation of connectors) is on the S06S page under the "downloads" tab.

The LCD is a window into the controller, so the instructions for all the controller settings are in the two LCD PDFs. You need both.
 

jackhandy

Esteemed Pedelecer
May 20, 2012
1,820
323
the Cornish Alps
If you still can't find the connector diagrams, they are also on the page for the S12s controller.
 

chris196

Finding my (electric) wheels
Jul 2, 2014
23
0
59
I have now found the diagrams. Thanks. Sure wish I would have taken a picture of what I did before I buttoned it all up. I still think I have it correct.
Next step is to try gluing the magnets on my small ring.
I may need to get a new ring of magnets in the end.

BTW, if you get this hub, I suggest purchasing the cassette remover tool as it will fit over the hub axle for tightening the cassette locking ring. I had to modify my tool to make it work.
Also, the PAS magnet disk does not fit over an octalink splined hub. You have to make the central hole diameter larger. I assume it's sized for square crank arms.
 

chris196

Finding my (electric) wheels
Jul 2, 2014
23
0
59
Another update and a few questions:
I glued the magnets to the small ring and now PAS kind of works. But, it's very intermittent to the point of not being usable. I have the magnets lined up with the sensor fairly well. I maintained the original spacing of the original ring pretty closely. However, my original ring is only 5 magnets. I notice that BMS has rings with 8 & 10 magnets. I assume these work better than the 5 magnet version. Also, is there a difference in sensors? Again, just looking at the bms site, it seems like there are different sensors.

Another issue is power. My wife originally tried this bike:
http://www.emotionbikesusa.com/ebikes/EN413
The specs on that bike are 350 watt motor with a 36V battery.
However, we both feel the emotion bike seemed more powerful than my conversion bike.
The conversion kit I used is this one which is listed as 350W:
http://www.bmsbattery.com/ebike-kits/616-250w350w-q-85100sx-motor-e-bike-kit.html
However, that kit uses an S06P controller.
When looking at the page for the controller alone here:
http://www.bmsbattery.com/controller/578-36v-s06p-integrated-controller-for-new-bottle-case.html
It lists it as a 36V 250W controller. So, I'm not sure if I'm getting 250W or 350W from my motor.
Also, at times with the throttle I get almost a stutter and the motor doesn't really start up. This is usually solved by releasing the throttle then reapplying. This also happens in PAS mode.

Any insight is appreciated.