As my introduction thread started to get technical, I thought I best start a new thread.
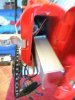
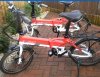
So, I've bought two Seago folding bikes in really good condition but both have the same issue:
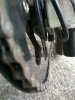
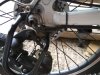
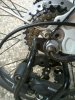
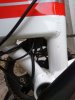
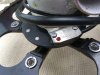
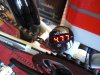
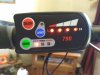
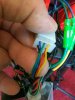
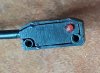
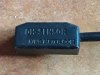
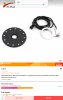
Batteries are fully charged, the display (LCD 790) lights up but there is no power assist.
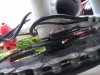
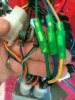
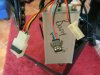
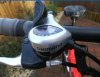
Obviously my first check will be the crank sensor and pickup, but I maybe jumping the gun here, but if I find the control box or Led display panel are goosed, what would be a decent replacement / upgrade. I believe I would need to replace the control box and lcd display (790) together, so it would be a good opportunity to fit a newer type lcd display if possible?
Thanks in advance for any tips or advice and thanks to those who have already offered advice in my intro thread.
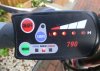
So, I've bought two Seago folding bikes in really good condition but both have the same issue:
Batteries are fully charged, the display (LCD 790) lights up but there is no power assist.
Obviously my first check will be the crank sensor and pickup, but I maybe jumping the gun here, but if I find the control box or Led display panel are goosed, what would be a decent replacement / upgrade. I believe I would need to replace the control box and lcd display (790) together, so it would be a good opportunity to fit a newer type lcd display if possible?
Thanks in advance for any tips or advice and thanks to those who have already offered advice in my intro thread.
Attachments
-
 710.6 KB Views: 36
 -
 1.1 MB Views: 34
 -
 278.5 KB Views: 32
 -
 666.2 KB Views: 30