This post is part of a set of posts following my project to "E" my Brompton :
A. Wheel Building - Tongxin in Brompton wheel
B. Building a small A123 Battery Pack
C. E-Brompton First Ride/Tweaks
D. Taking a Tongxin motor apart
You may also like to check out daniel.weck's post here which covers the simlar use of Tongxin & Bafang motors and inpired me to give this a go.
A couple of related links as I was building
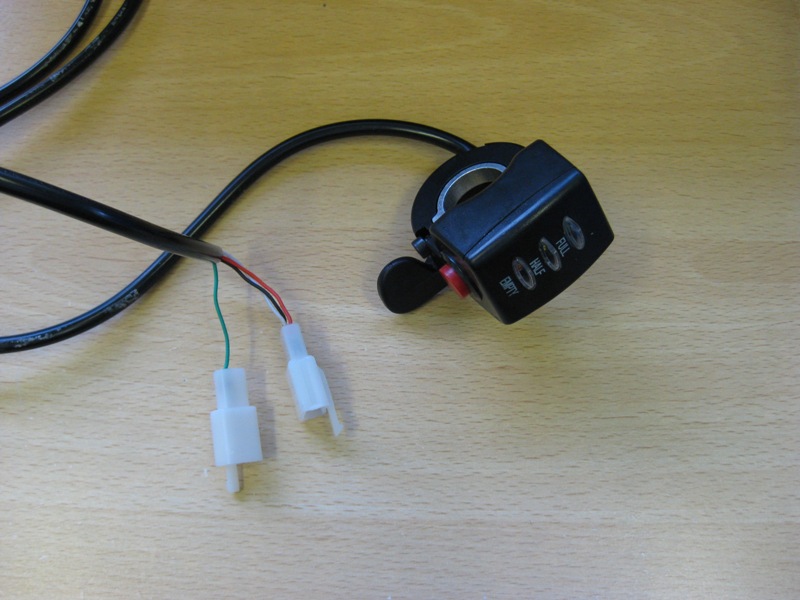
Throttle Controls
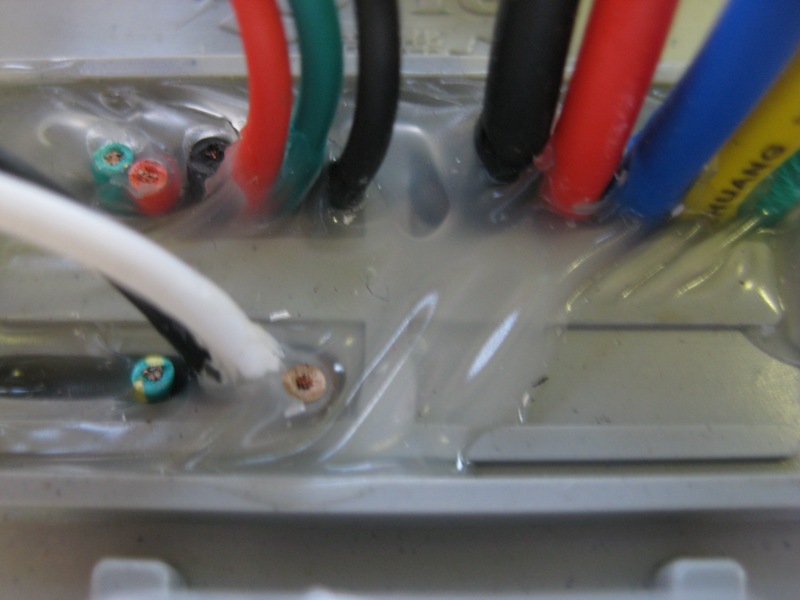
Connectors
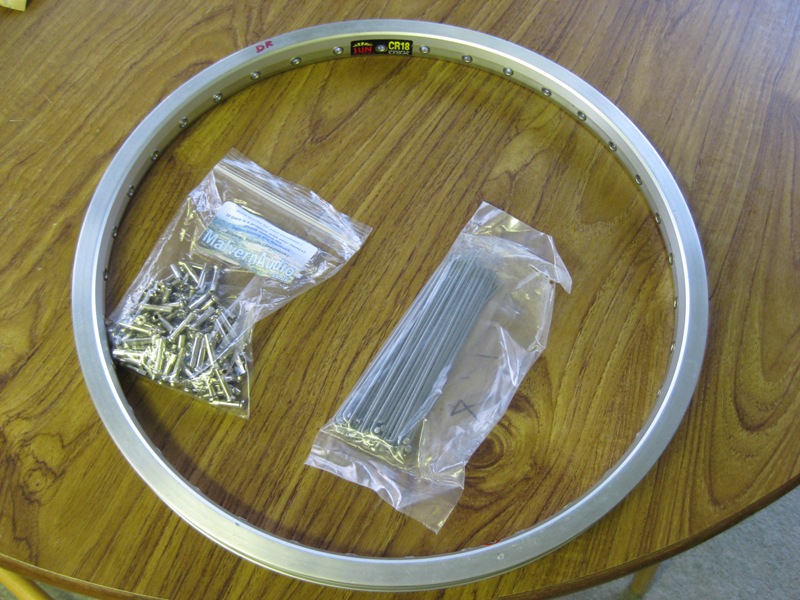
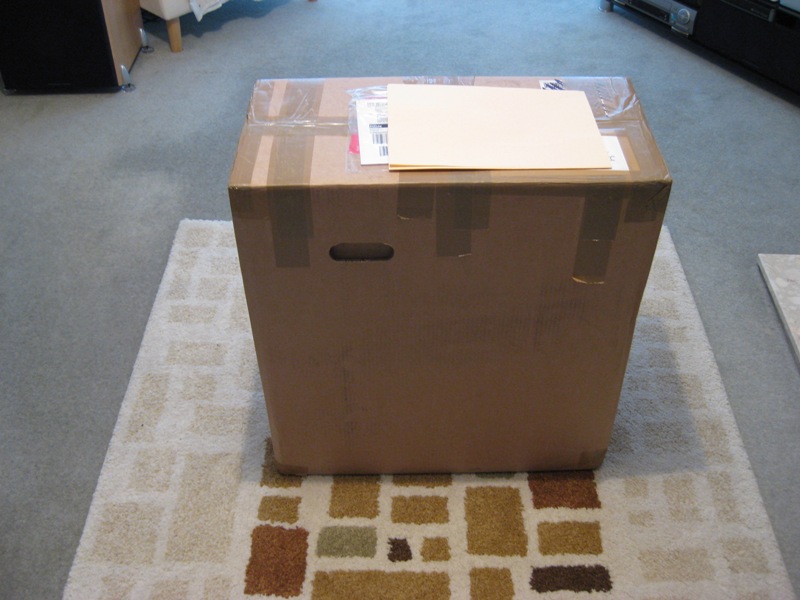
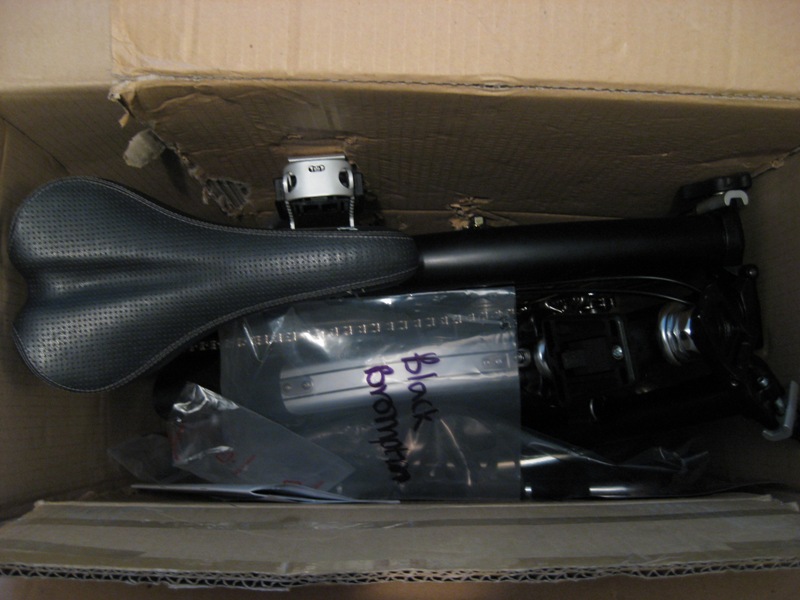
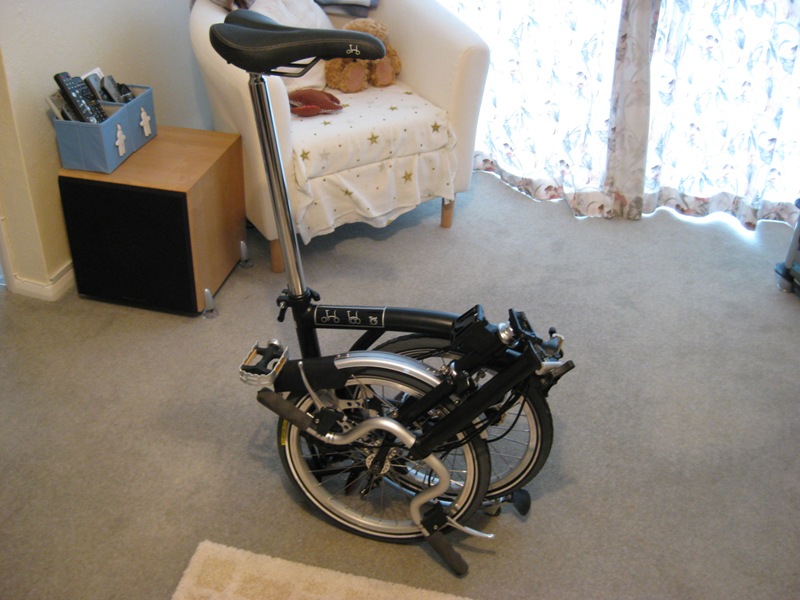
Now a few bits are arriving for my E-Brompton project I am going to start a couple of threads. The first is this to follow progress building the Tongxin motor into a Bromtpon front wheel.
A couple of points to make clear from the begining.
1. I have never built a wheel from scratch before
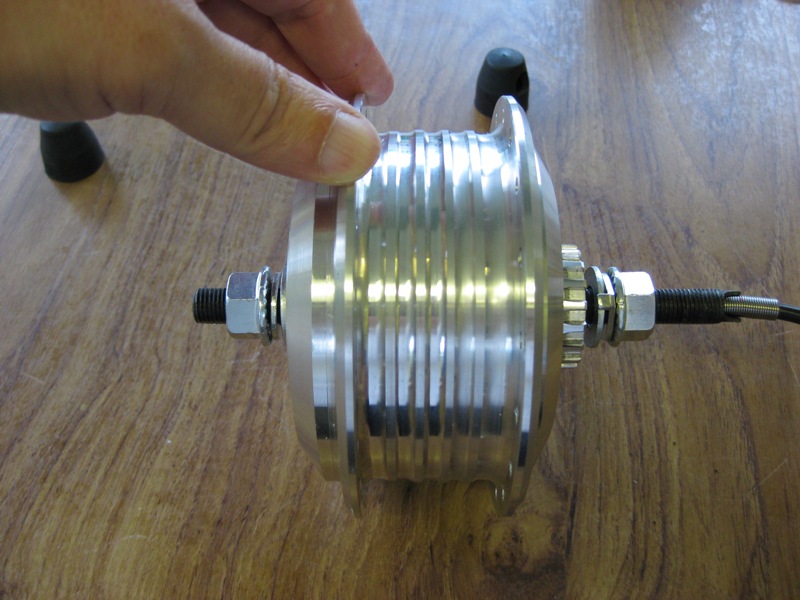
2. I am using a Tongxin 80mm wide 36v, 260RPM front wheel motor. (Also known as a NANO motor)
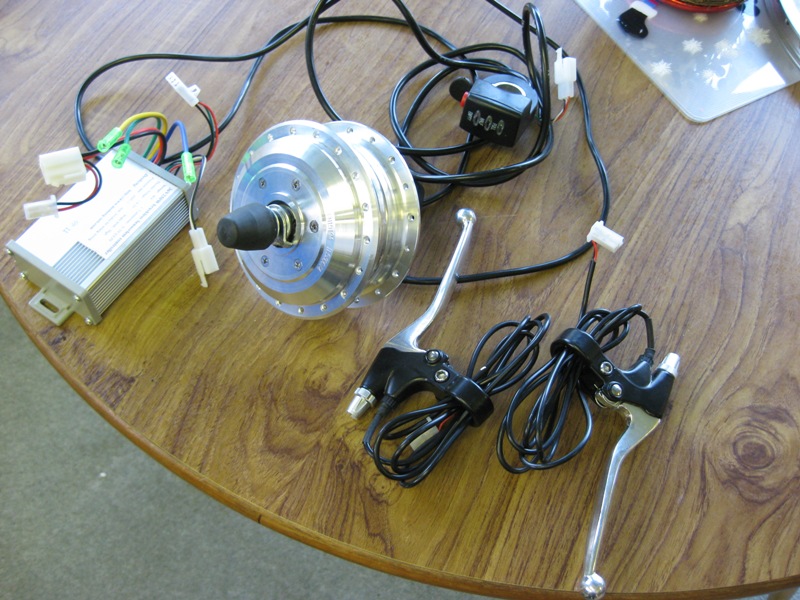
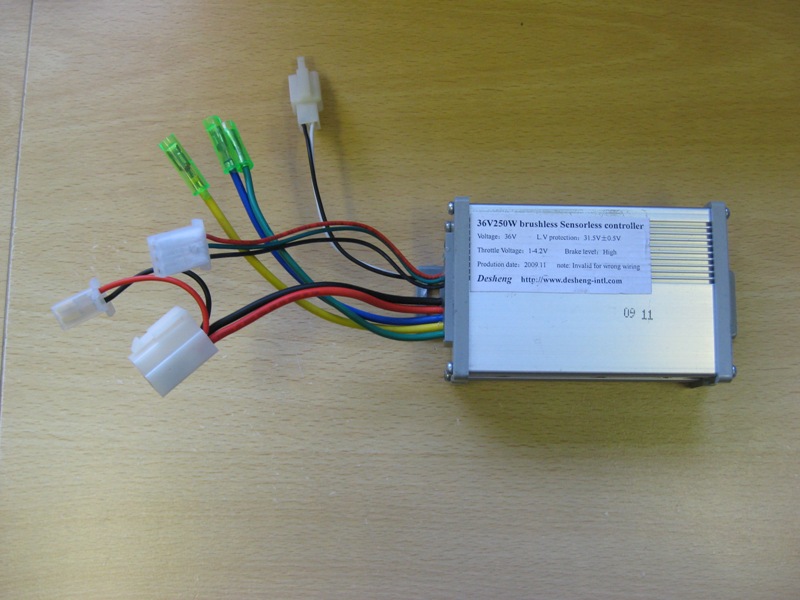
3. I am sourcing the motor, controller and other bits from China.
4. I am building the battery myself using A123 cells, see other posts above.
5. Using this motor is not unique. I am certainly not the first or I suspect the last to try the DIY approach.
This motor has been well proven in this application. Tony Castles of the EWC was probably one of the first to do it. EWC has been taken over and you can buy kits from them or get them to do it for you. The new business seems well run and at the time of writing this post they seem to respond promptly to email, calls and enquiries. They told me last week that now they hope to have a turn round time of one week, from when a kit is ordered. Lets hope I don't regret not going down this route. If this is the case my loss will be your gain after you watch this project.
Also at the time of writing this post Freedom E have recently released a kit with a light weight battery.
I am on a steep learning curve when it comes to wheel building so I will be looking for input from some of the experts at it and I know there are a few on this forum.
It could all go horribly wrong but this post will hopefully help people to decide if to do it themselves, or just go for a ready made kit. My gut feeling is the latter is probably easier and certainly envoles less risk. But, I like the DIY challenge and if I have any problems in the future, I will hopefully know enough through this exercise to fit a new motor into a wheel.
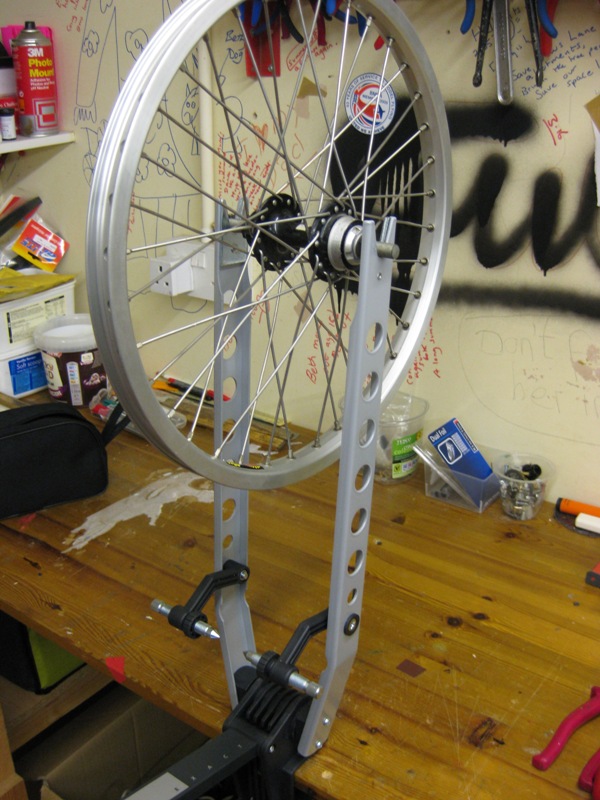
First as per this post I purchased myself a truing stand. Not essential as you can do it in your forks using your brake blocks as reference. This one was going cheap from here so I purchased it for my project.
Note the graffiti on my worshop wall was added by my wife and kids, as I have spent some time in it over the years and its their reminder not to forget about them indoors lol
The Truing Stannd
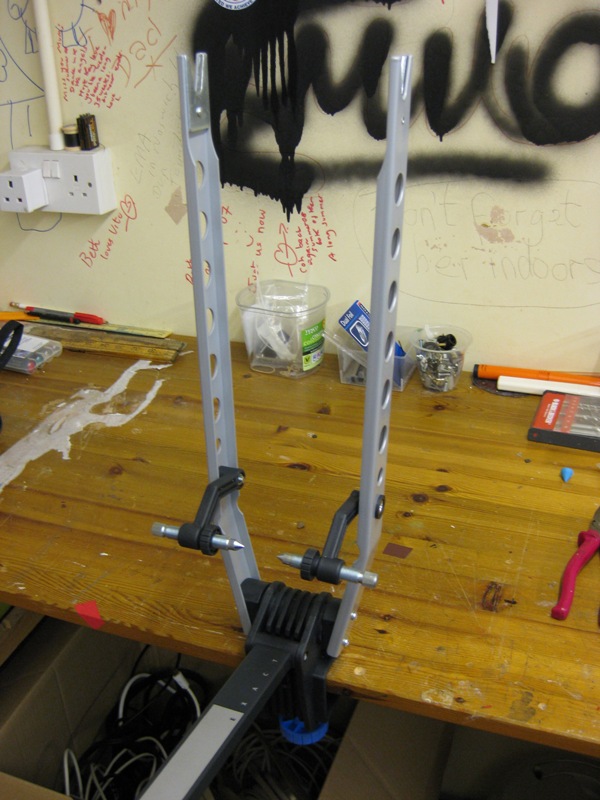
Its a pretty basic stand but certainly functional. For the money I think it was worth getting. Notice the aligning pins either side of the rim for lateral truing. The other gauge I am pretty sure is for vertical truing (cirlcular truing ?) as it shows when the wheel is out of circular (see pic below). The final adjustment is dishing of the center hub which I guess means it moving side to side ? Again I am not sure but hopefully someone will chip in to confirm this. This needs another tool one of these though I have not seen them used in the videos ? Maybe this can be done by eye ?
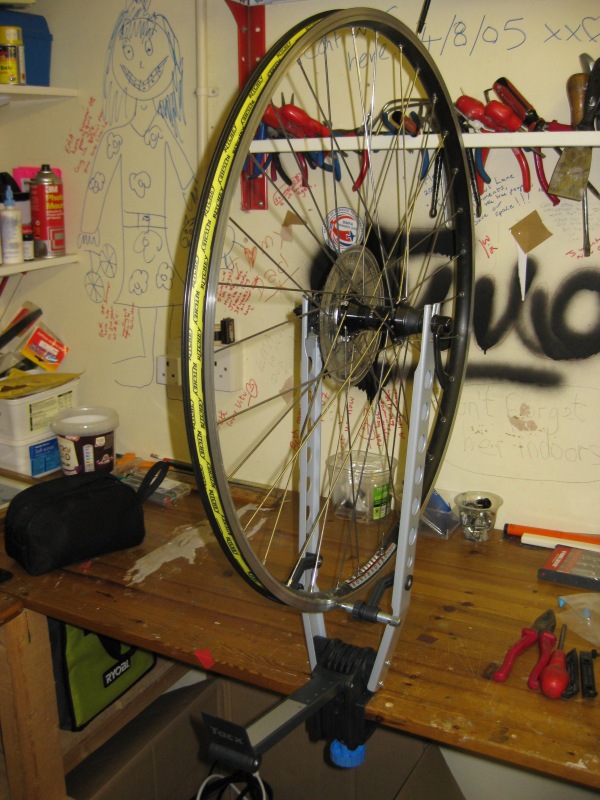
Rear Cytronex wheel in the stand
As I have a puncture in my Cyrtonex back wheel and have the tyre off I thought I would pop it in to see how true it was. It was out a little so I starting turning "nipples" lol. After ten minutes it was even worse! I really started to panic but took a deep breadth, went and watched some of the videos below and realised I had been turning the nipples the wrong way. Looking down, clockwise loosens the spokes and anti clockwise tightens them up. I had been doing it the wrong way! Basically you tighten or loosen spokes on different side (tighten one one side loosen one the other side) to pull the rim left or right. The key is small 1/4 turns loosening and tightening either side to make the rim move in the direction you want. Depending on the length of out of true you may need to work on 3 or 4 nipples either side to get it true. Slow, taking your time and methodical is the way forward. See the links posted below for more info. Another 30 mins and I had it trued up well.
One thing I noticed is that the freewheel (cassette) side the spokes seem to be tighter (they have a higher pitch when plucked, the fourth and final measurement for truing) than the none freewheel side which are looser, lower pitch when plucked. Perhaps someone can advise ??
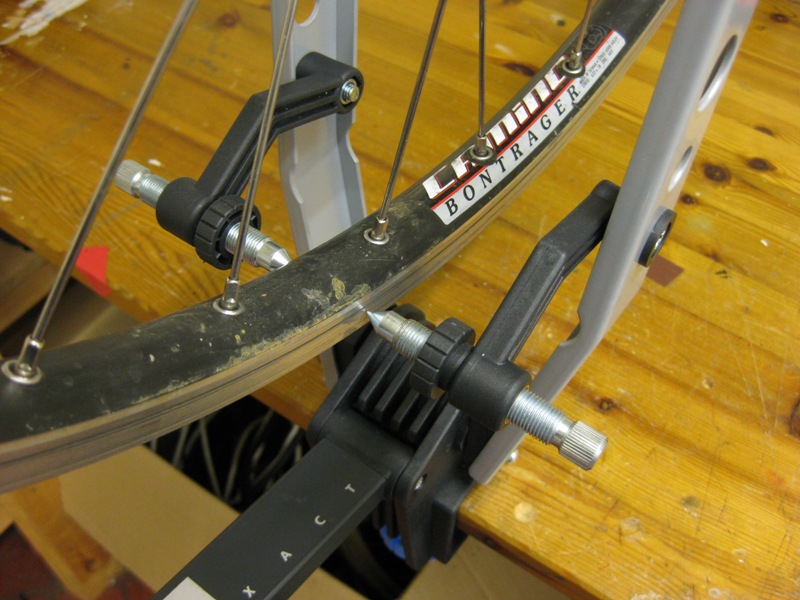
Close up of the pins that give you a reference for lateral truing of the rim.
Hopefully these post with give a little back to this forum which has given me so much help. I have made some good friends here, had some fun and its become a place I visit and read most days. There are some very experienced people here, so I will be looking for lots of feedback, encourgament and constructive critism when I make mistakes.
Regards
Jerry
A. Wheel Building - Tongxin in Brompton wheel
B. Building a small A123 Battery Pack
C. E-Brompton First Ride/Tweaks
D. Taking a Tongxin motor apart
You may also like to check out daniel.weck's post here which covers the simlar use of Tongxin & Bafang motors and inpired me to give this a go.
A couple of related links as I was building
Throttle Controls
Connectors
Now a few bits are arriving for my E-Brompton project I am going to start a couple of threads. The first is this to follow progress building the Tongxin motor into a Bromtpon front wheel.
A couple of points to make clear from the begining.
1. I have never built a wheel from scratch before
2. I am using a Tongxin 80mm wide 36v, 260RPM front wheel motor. (Also known as a NANO motor)
3. I am sourcing the motor, controller and other bits from China.
4. I am building the battery myself using A123 cells, see other posts above.
5. Using this motor is not unique. I am certainly not the first or I suspect the last to try the DIY approach.
This motor has been well proven in this application. Tony Castles of the EWC was probably one of the first to do it. EWC has been taken over and you can buy kits from them or get them to do it for you. The new business seems well run and at the time of writing this post they seem to respond promptly to email, calls and enquiries. They told me last week that now they hope to have a turn round time of one week, from when a kit is ordered. Lets hope I don't regret not going down this route. If this is the case my loss will be your gain after you watch this project.
Also at the time of writing this post Freedom E have recently released a kit with a light weight battery.
I am on a steep learning curve when it comes to wheel building so I will be looking for input from some of the experts at it and I know there are a few on this forum.
It could all go horribly wrong but this post will hopefully help people to decide if to do it themselves, or just go for a ready made kit. My gut feeling is the latter is probably easier and certainly envoles less risk. But, I like the DIY challenge and if I have any problems in the future, I will hopefully know enough through this exercise to fit a new motor into a wheel.
First as per this post I purchased myself a truing stand. Not essential as you can do it in your forks using your brake blocks as reference. This one was going cheap from here so I purchased it for my project.
Note the graffiti on my worshop wall was added by my wife and kids, as I have spent some time in it over the years and its their reminder not to forget about them indoors lol
The Truing Stannd
Its a pretty basic stand but certainly functional. For the money I think it was worth getting. Notice the aligning pins either side of the rim for lateral truing. The other gauge I am pretty sure is for vertical truing (cirlcular truing ?) as it shows when the wheel is out of circular (see pic below). The final adjustment is dishing of the center hub which I guess means it moving side to side ? Again I am not sure but hopefully someone will chip in to confirm this. This needs another tool one of these though I have not seen them used in the videos ? Maybe this can be done by eye ?
Rear Cytronex wheel in the stand
As I have a puncture in my Cyrtonex back wheel and have the tyre off I thought I would pop it in to see how true it was. It was out a little so I starting turning "nipples" lol. After ten minutes it was even worse! I really started to panic but took a deep breadth, went and watched some of the videos below and realised I had been turning the nipples the wrong way. Looking down, clockwise loosens the spokes and anti clockwise tightens them up. I had been doing it the wrong way! Basically you tighten or loosen spokes on different side (tighten one one side loosen one the other side) to pull the rim left or right. The key is small 1/4 turns loosening and tightening either side to make the rim move in the direction you want. Depending on the length of out of true you may need to work on 3 or 4 nipples either side to get it true. Slow, taking your time and methodical is the way forward. See the links posted below for more info. Another 30 mins and I had it trued up well.
One thing I noticed is that the freewheel (cassette) side the spokes seem to be tighter (they have a higher pitch when plucked, the fourth and final measurement for truing) than the none freewheel side which are looser, lower pitch when plucked. Perhaps someone can advise ??
Close up of the pins that give you a reference for lateral truing of the rim.
Hopefully these post with give a little back to this forum which has given me so much help. I have made some good friends here, had some fun and its become a place I visit and read most days. There are some very experienced people here, so I will be looking for lots of feedback, encourgament and constructive critism when I make mistakes.
Regards
Jerry
Last edited: