Efuented
Members
-
Joined
-
Last visited
Everything posted by Efuented
-
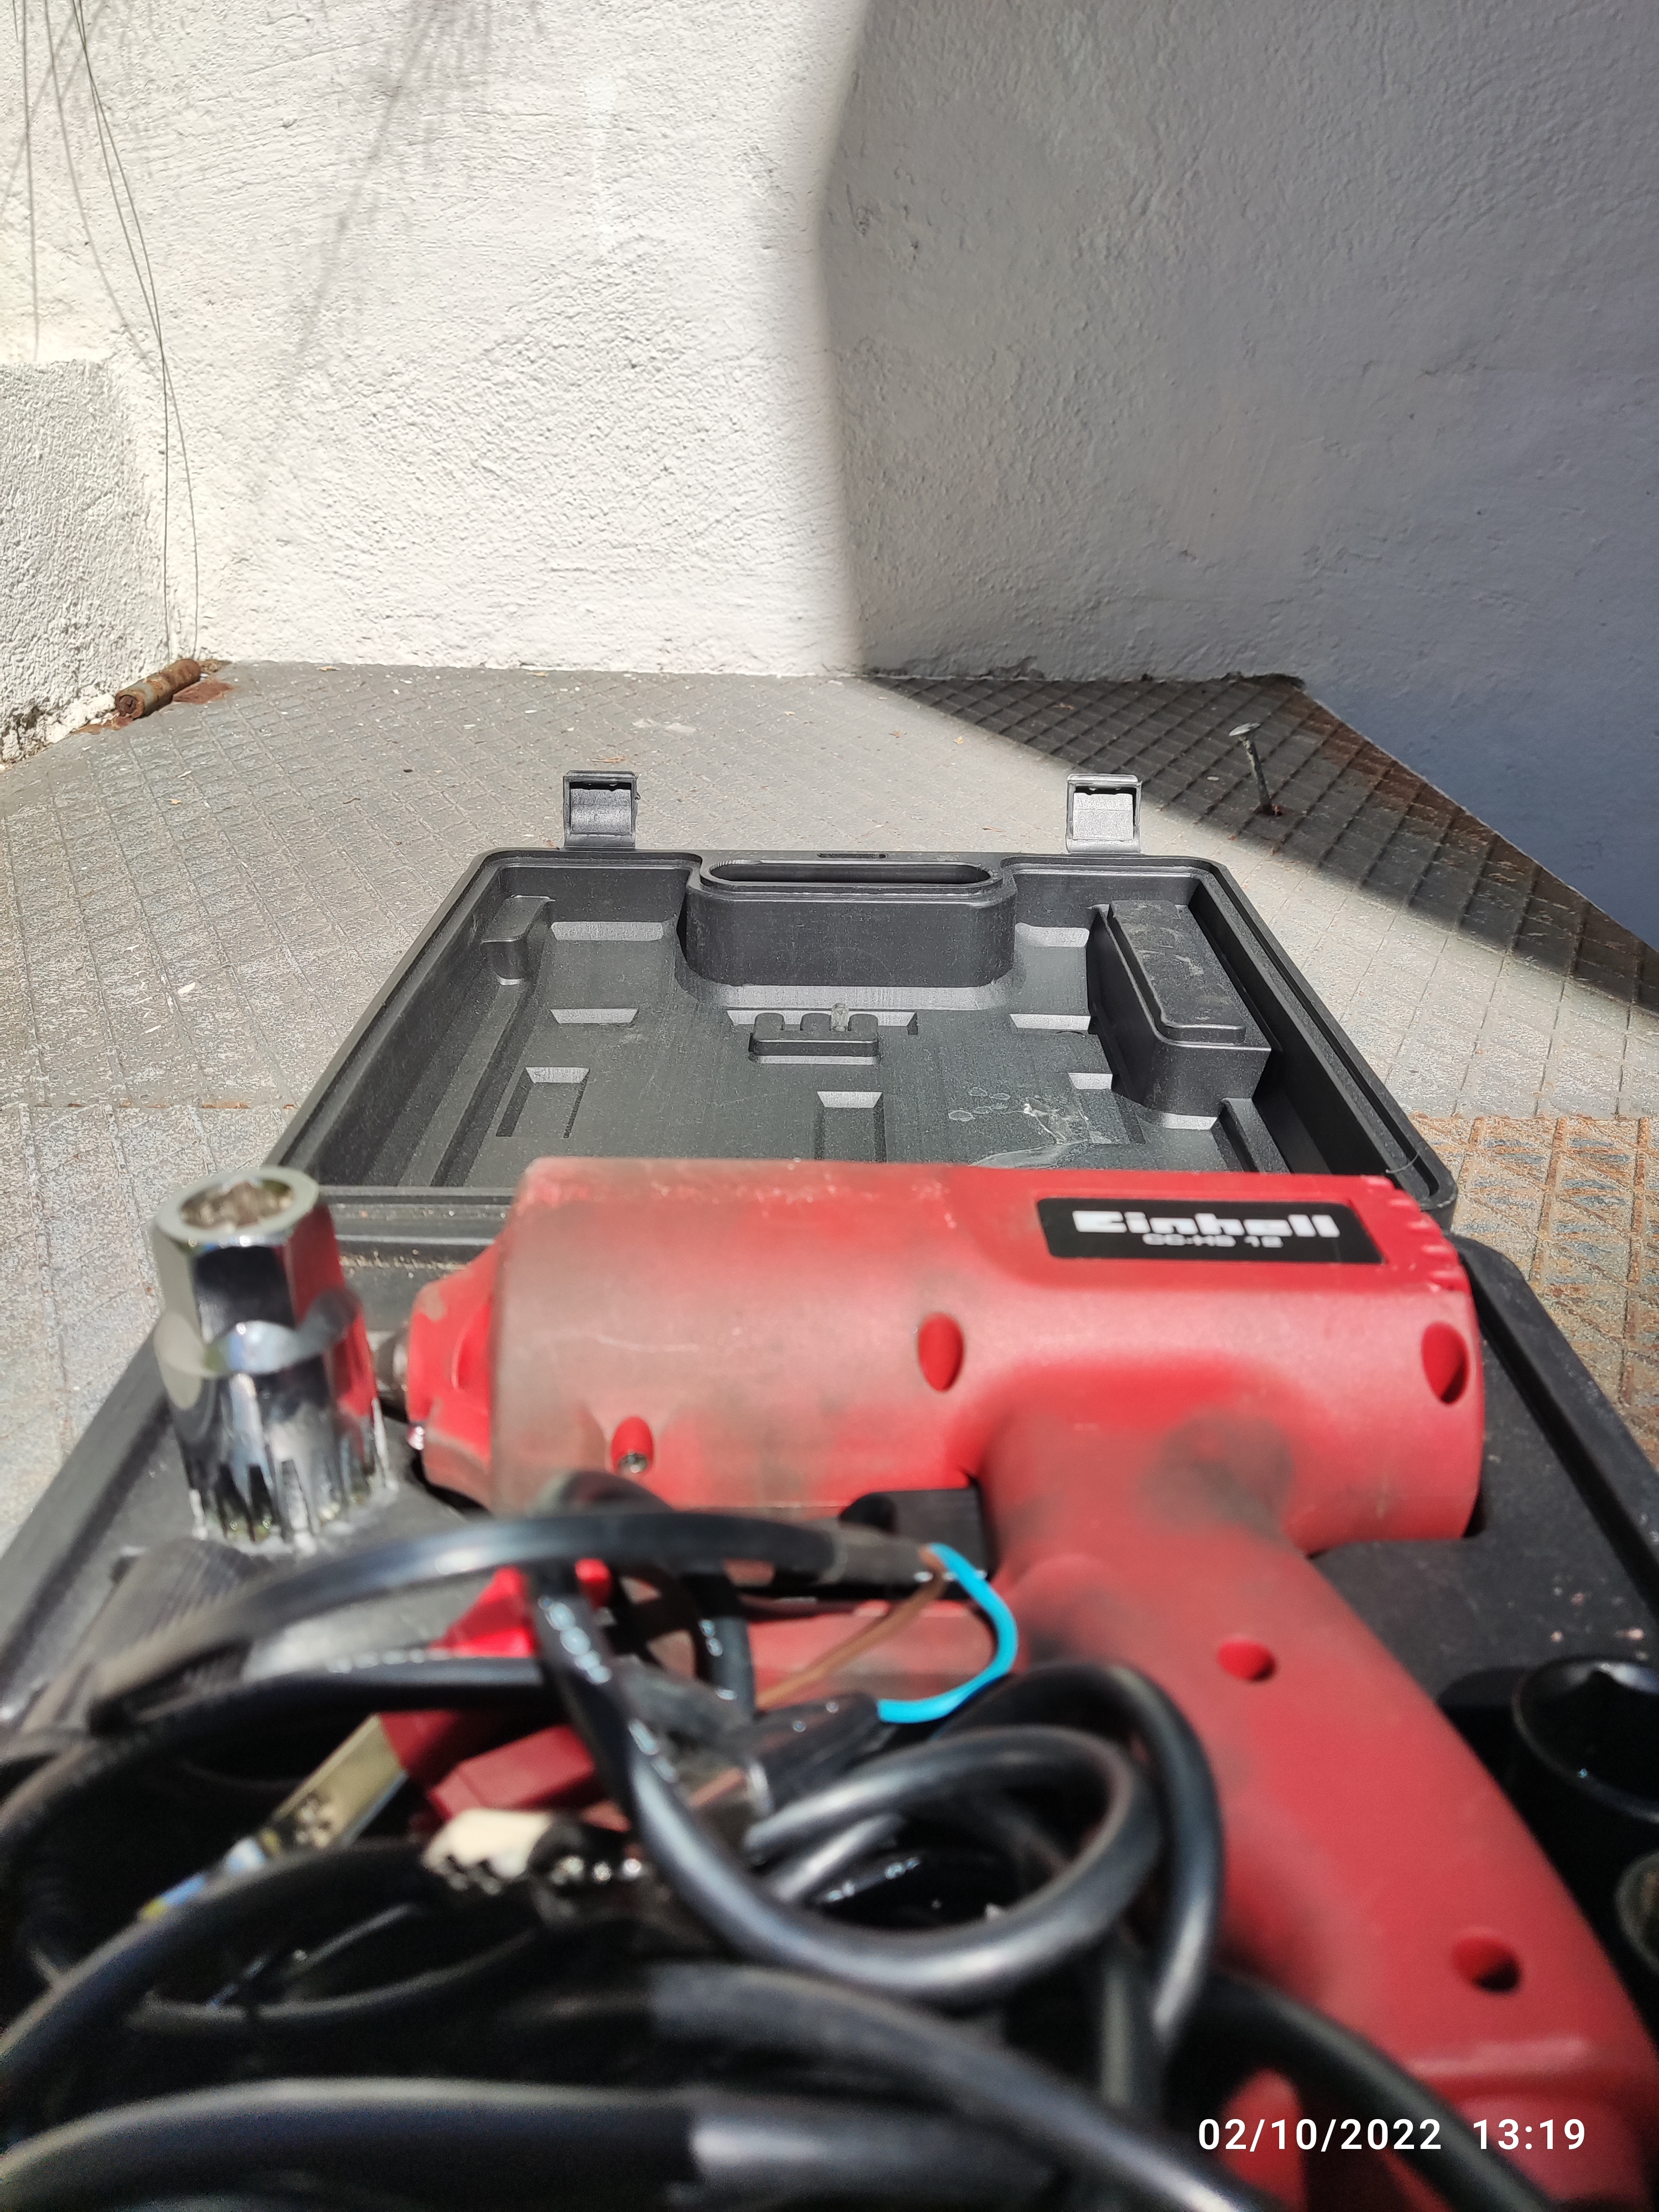
I finally did my conversion. First engine I ordered did not arrive, so I ordered another one to a different supplier once I got the refund. It's a TSDZ2 36v 350 W. I had to re-route my gear cable,as it was routed under the bottom bracket. I bought new cable and outer sleeve and routed it under the bottom tube. An issue I had is that, even though I didn't use any shims on the right side, the offset difference between the pedals was huge, with 4cm distance to the wheel arm on the right side vs 2 cm on the left side. I ordered a Bafang right crank,which has almost no offset (way less than the one that came with the TSDZ2, as you see in the last picture)a nd it's now much better, with only 2,5 cm on the right. I encourage this change,as it improves alignment of both legs when pedaling. The engine runs great and I have already posted 85Km in just two days. Next addition is a telescopic seat post,which is much safer in off-road use.


-
That setup with the bolt and spacer is quite neat, and, in my opinion, the only way to use a wrench with sufficient lever without risk of stripping the grooves in the bracket bolt. I would recommend anyone who cannot have access to an impact driver to go that route rather than trying to do it just by pressing manually against the bracket. I will check if I can fit the motor (when it arrives, it is taking longer than expected...) without fiddling with the gear cables but, if the cable doesn’t fit, given the price difference, I will certainly buy a kit of cable and outer cable… Will post pictures when (hopefully when, and not if…) the motor arrives and I fit it a
-
I mean clockwise in the right side, anti clockwise on the left side…
-
Regarding remembering to which side they twist. The rule of thumb that some internet videos provide, which works for most standard brackets, is to turn both in the same direction as the pedals turn when cycling (clockwise). That means the left side (the one on your left leg) is normal thread direction, and the right side is reverse thread direction
-
I will certainly try your solution to the gear cable. One question, though, Did you manage to do that without changing the cable?. I was thinking that, if I try to fit a piece of gear cable outer over the existing cable, given that the cable is already a bit deformed where it attaches to the shifter, it was going to be impossible to push it into the cable cover, as it would stick…
-
Many thanks for the advice and for the video. I have already removed the bracket (or cassette, as is usually called here -Spain-). I did watch a number of instruction videos before and had, fortunately, figured out the reverse thread. Regarding the impact wrench, given the original thread comments on the difficulty of removing the bracket, having to use a G clamp to press the socket into the nut, I thought it was worth sharing a tip that worked perfectly. In my case, I soon realized, after a couple of attempts, that the use of a long ratchet wrench was not going to work that well, the issue being, precisely, that, with such a long lever and the force applied at the end of the lever, the socket would slightly tilt, so that the splines in the socket would not fit perfectly in the grooves in the bracket. Exactly what the original thread and some other members in the forum were saying. Given that the risk of either ruining the socket or (much more important), the bracket, can only be minimized by ensuring that they both fit perfectly, and given that the best way to do that is to apply downwards pressure directly above the socket to push the splines as vertically as possible into the bracket nut grooves, I thought that the impact wrench, that allows the user to simply press down while the tool does the twisting force, was the best tool for the job. Sure enough, nuts went out easily at the first attempt, which had not been the case with the ratchet wrench. Needless to say, and given that electric impact wrenches allow to modulate the number of impacts and, in some cases, the torque, I started carefully, checking that there was a very slight movement with the first impacts and that the splines and grooves were not wearing, and continued when comfortable that it was working.
-
I am about to fit a 500w 36v TSDZ2 to a 29" hard tail MTB. Will let you know how it goes. I will probably have to re-route shifter cable, as it runs below the pedaler bracket. I wanted to give some advice on the removal of the pedalier axle cassette, which can be tricky due to the significant torque that has to be applied, which requires a lot of lever which, in turn,makes it difficult to position the socket splines firmly in grooves in the nut. I bought in Ebay a socket and then used an electric impact wrench I use for the car wheel nuts. Such wrench is very effective, as it avoids the issue of the socket not getting deep enough in the grooves of the cassette nuts: you can just press hard from above and pull the trigger, and the impact wrench does all the work