CST - it's all working

Scimitar

Esteemed Pedelecer
Jul 31, 2010
1,772
40
Ireland
Excellent job.
I'm looking forward to a pic of your lights in action. I already know what one and two of the 27Watters look like on my road (eye-searingly good), but it's nice to see other roads at night.
Later on, I'm ordering another pair of those for the m'cycle - two main, two dip.
 
Last edited:

103Alex1

Esteemed Pedelecer
Sep 29, 2012
2,228
67
They're bulky beasts, Scimitar - I guess you don't notice so much on a m'bike. Are you going to try out that dimmer array ? It does say on the specs that output depends on voltage and therefore it may be that there's no current limiter in the lights. If there isn't you ought to be able to get the dimmer to work plus there's no risk of flattening the battery (assuming they go off when the bike's turned off anyway !) / little risk of excess current draw on a m/bike circuit

They're chunky things mind - 2 on an eBike would add meaningful weight but equally importantly if they were mounted either side of the front fork might affect the handling too. Also, getting a suitable bracket to take them both would be a challenge (would need making and clearance would be an issue). As the front of the bike takes all the initial shock then especially at speed the vibration would put considerable strain on any front stem mounted solution.

When I get them wired up and my box built I'll take the bike to its final home and try to get some night shots there. No street lighting for miles so it should really come into its own.
 

Scimitar

Esteemed Pedelecer
Jul 31, 2010
1,772
40
Ireland
My first installation on the m'cycle is simply one main, one dip, paying careful attention to the angling of the dip beam. The other two I get might be the flatter ones and mount them lower down, around the bottom yoke level, so they will be the dips. I think a simple hood might have to be constructed to shield oncoming drivers from glare, but no such concerns on mains, of course.
As for wiring; in the intial stage, I'll have the main and dip simply wired piggy-backing off the headlamp circuits, no need for relay or dimmer, as the current draw is well within the standard switch and wiring capability. To this end, I'll be fitting an H4 LED headlamp bulb - now, I know the light output from these is pretty rubbish, but it's purely for the sake of having a lightbulb in the headlamp unit at all and it's minimal current draw releases more current to work the 27W LED units.
These are the slight problems to be borne in mind when working with an old alternator which has limited output - every watt you can save, counts, and I'll be replacing all the running lights with LEDs over the next couple of months.
 

103Alex1

Esteemed Pedelecer
Sep 29, 2012
2,228
67
This is the stand that I'd recommend, but they also do an aluminium coloured one (not listed at the moment. Maybe someone knows where to get one from), which would look nicer on your bike:
MTB Road Bike Mountain Bicycle Replacement Side Kick Stand Alloy Kickstand Black | eBay
Got back tonight to a mountain of packages - but went to this 1st as not having a kickstand makes going shopping and unloading on your return a pretty hairy experience.

Kickstand fixings were a tight fit owing to the chamfered stays but ... it doesn't blooming work :( .. The stand doesn't clear the disc brakes when kicked back - smacks them dead on.

I've played with it a bit to see whether it can be rotated clear of the rear brake disc but it's not looking promising.

Very frustrating. You would think someone would make a single kickstand you could buy to fit a sports MTB with disc brakes without having to modify, alter or make your own in the absence of anything on the market that works out of the box. I guess it's meant to be "cool" to throw down your bike on the floor when you're not doing bunny hops off a trail edge but ... FFS .... lol.

The derailleur "chainring guard" that arrived at enormous expense to save my trousers from oil and rips has f****** teeth on it to rip them on instead. I haven't yet checked but if I'm supposed to sacrifice my large chainring for it rather than fit it on in addition then it really is £25 for something that's straight on the ever-growing "expensive mistakes" pile. I definitely want my 3 front chainrings + a protector not a protector instead of a 3rd chainring. Bit miffed as this is despite ages researching before buying it.. nowhere did it indicate it had blooming teeth on it. How difficult can it possibly be to get a plastic ring to cover the vicious trouser-ripping chainring teeth and mucky mech when chain is in use on that ring (i.e. most of the time) ?

Not going to tuck trousers into socks or wear cycle clips so I am back in my shorts tonight and off to stock up with supplies before the deluge arrives tomorrow. Might just have to accept that it's easier just to ditch your trousers and have done with it if you want a derailleur. Still feel derailleurs are a pretty daft arrangement for anything other than sports cycling to be honest if you want to wear normal clothes... hub gear setups bring no such problems with protection from chains and rings as chainguards cover the whole mechanism. And thinking about it, I could have got a nice new pair of shorts for the cost of that "chainring protector" :rolleyes:. It shouldn't be this hard to get basic accessories for a bicycle off the shelf !!
 
Last edited:
D

Deleted member 4366

Guest
Did your Cycle Analyst come? i got mine today from the postman so no duty.

Could you show a photo of your stand problem and a link to your chainguard?
 

103Alex1

Esteemed Pedelecer
Sep 29, 2012
2,228
67
Did your Cycle Analyst come? i got mine today from the postman so no duty.

Could you show a photo of your stand problem and a link to your chainguard?
Still waiting for the Cycle Analyst - I'm not expecting it till next week as they said 7-14 days (it's coming regular Airmail and not posted till Friday afternoon).

Still waiting on 2 x 9V DC-DC converters for the lights ordered 35 days ago from China too ... even my DealExtreme cables ordered a week later and sent snail mail arrived this week so I wonder whether the supplier has actually sent them even though they were notified as dispatched pretty pronto.

Locked up downstairs now so I'll get the camera out tomorrow on the stand. The chainring thing was this one that was recommended on a MTB forum :

New E Thirteen 42t Guide Ring DH Chainring in Silver 4 Bolt 104BCD E13 | eBay

I obviously got my wires crossed with what this is. Looks almost like a replacement outer chainring ... and now I look through squinted eyes at the picture it does have teeth. Trying to get my head round too much the day I ordered that I think :rolleyes: Thought I was getting something like this :

in Atlanta, Georgia, United States - photo by csermonet - Pinkbike

When I looked closely at the pedal arrangement I think some of the problem is trouser bottoms brushing the top chain on the pedal upstroke - and that part of the chain is well back from the chainring. Only a full chainring to near hub fixie-style chainguard can prevent that happening, especially if you lean left when cornering. I don't think you can fit anything like that with a triple chainring so the problem may actually be one you have to live with ?
 
Last edited:
D

Deleted member 4366

Guest
I think this one should work. you have to remove your cranks and bottom bracket to fit it. The black ring-bracket goes behind the BB, then it screws to the plastic part top and bottom. There's an additional fixing to your chain-stay at the back. The only problem could be whether it reaches across a triple chain-ring. It looks like it's designed for it. Worst case you have to make a couple of pieces with two holes to extend the reach of the bracket.
Raleigh Smoked Triple Chainguard 46-48T RRP £11.99 | eBay
 

103Alex1

Esteemed Pedelecer
Sep 29, 2012
2,228
67
Thanks Dave. I'll have a think about it and whether I can live without one in the short term. Having your cranks and bottom bracket off in order to fit a chainguard seems a bit radical... a lot of those guards get slated for not staying put and being prone to early damage which was why I ideally wanted a durable one that installs via the 4 bolt holes on the large chainring instead.

Will need to check you can install on BB too - there is an odd-looking fitting between the cranks and the BB with warnings all over it .. might try to get the bike into a bike shop where they can size something up and I can check reviews of it before buying anything more for this.

You can get outer chainrings with guards already in place that don't require removal of BB - but not that I've found over 40T - and not for less than about £60-£80 :)eek: :rolleyes:). No doubt priced to snatch half the equivalent labour cost you'd pay a bike shop to have your BB & cranks off to fit the cheaper ones lol.
 

103Alex1

Esteemed Pedelecer
Sep 29, 2012
2,228
67
Could you show a photo of your stand problem
I've spent some more time tonight fiddling with this to try to get it to work somehow. Prospect of £40 for a centre stand that fits the frame is incentive enough !

I've rejigged it a bit like this but not sure it's a long term fix as there's only about 3mm clearance from the brake disc at the back :


103Alex1

Esteemed Pedelecer
Sep 29, 2012
2,228
67
In the 3rd photo you can see I had to flip the screw holding the extension arm from the seat stay hoop to attach to the main chainstay stand part from the other side in order to stop the kickstand being pulled in to touch the brake disc. I also glued some cut up inner tube rubber on the stand to help push it out a bit.

The bottom photo shows the clearance from the brake disc. There's some 'play' in the kickstand as this has to flip down and it's possible to push it in with your finger even now to touch the disc. You have to raise it gently or it hits the brake disc if kicked up. Guess my concern is whether vibration off poor road/trail surfaces will cause the flipped up stand to contact the brake disc - wouldn't be good if that happened regularly.
 

103Alex1

Esteemed Pedelecer
Sep 29, 2012
2,228
67
Spent some time today tidying up my controller and power leads. It has to be done so may as well get it out of the way whilst the soldering iron was hot.

Removed a whole load of superfluous wires from the controller and soldered together the 36V/48V selector wires inside the controller that were previously connected outside. If I ever use the controller @ 48V I can just remove the loop.

There are still a few too many wires for my liking but most of them are Hall Senor ones and I'm running my motor sensorless at the moment. However if I ever change the motor they might be useful so if I've space they're getting left.

Have also swapped the main power connector for a block of 3 Anderson Powerpoles, oriented so there's only one way they can be connected up. They're an absolute ****** to assemble but was good to get experience fitting them without the "special tool" !

A LOT of extra wires and bulky connectors now got rid of :


I also had to remake the lead from the main switch to the controller with Anderson Powerpoles, so used the opportunity to fit an inline fuse holder with 40A fuse that d8veh linked for me some time ago :


The fuse holder came with integrated 12AWG red wire of just the right length, which was handy. It was also copper and a heck of a lot easier to work with attaching to contacts than the slippery silver stuff in the high-flex silicone housing that's in the black wire. I'd never have fitted the extra red loop wire in the new connector terminals otherwise. Now the only thing left to do will be when my Cycle Analyst arrives - I guess I'll have to cut both wires to insert the CA remote shunt. (If it inserts the way a Speedict does - I haven't seen any schematics of what to expect)
.

Seemed like a heck of a lot of work for some reason - took far longer than I thought it would !
 
Last edited:

103Alex1

Esteemed Pedelecer
Sep 29, 2012
2,228
67
Some more bits completed today - finally got the accessory circuit rigged up with its own isolator switch in the live feed (this allows it to be switched off externally). Couldn't find any decent rated rocker switches that weren't huge and ugly so went for another one like my main FET switch but in green instead.

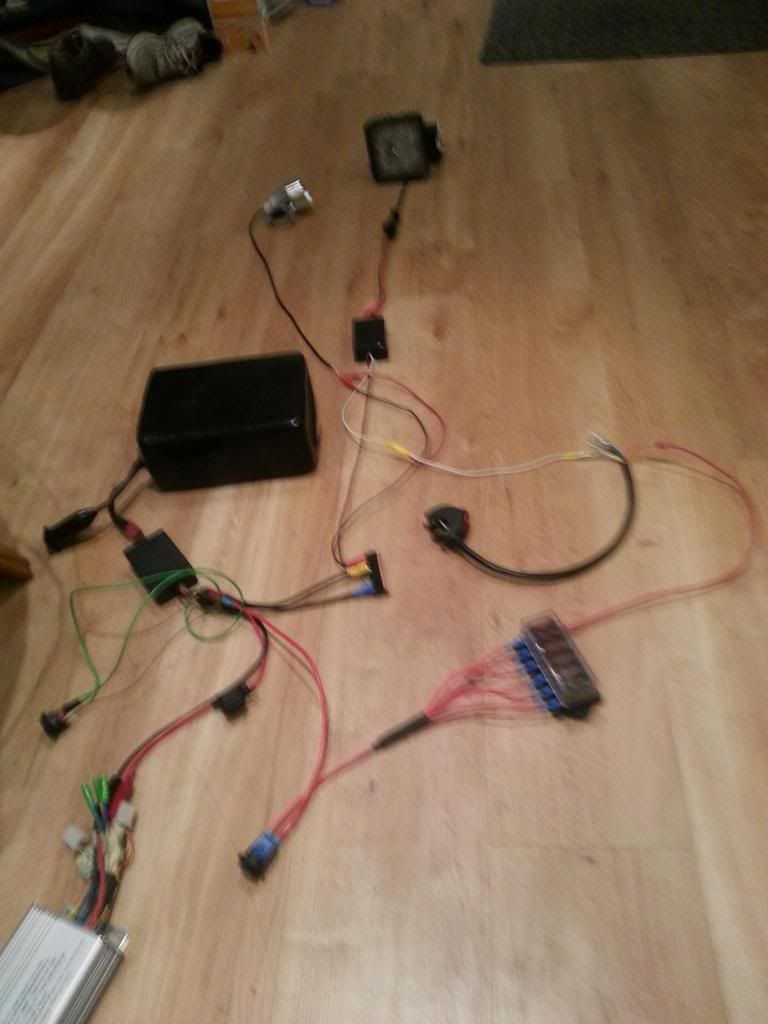
Live secondary battery feed now goes straight to 6-way fuse box and 0V to 2 x 4-way BUSbar terminal blocks.

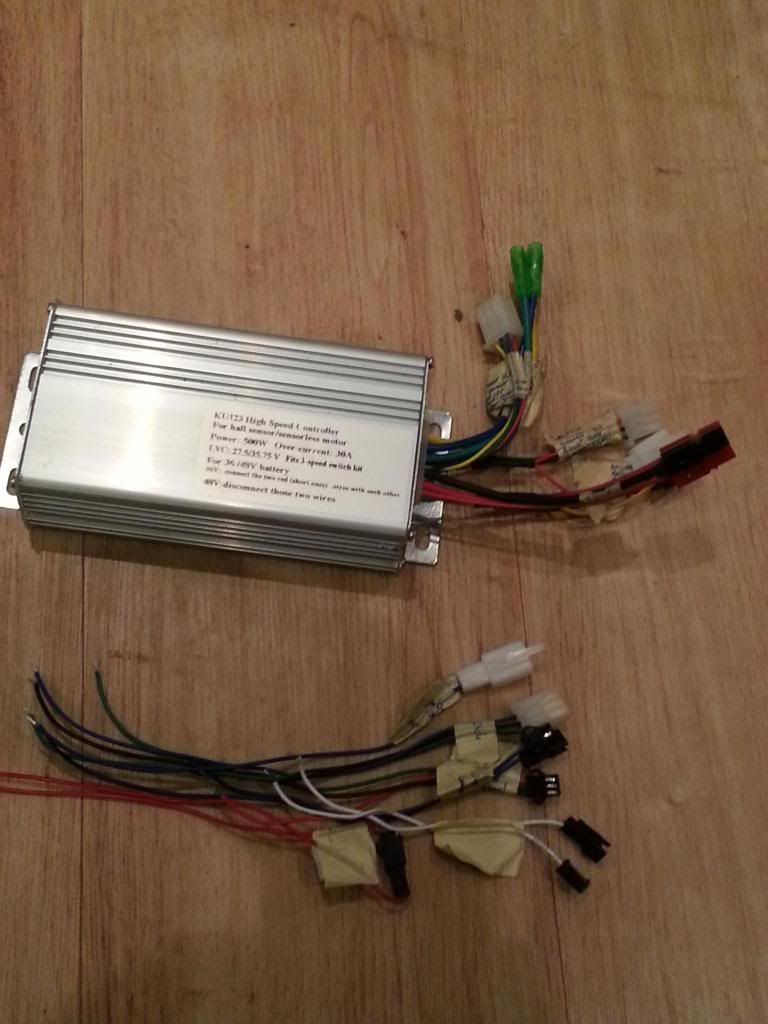
I managed to finish wiring up my first lighting circuit over the Trailtech handlebar switch ... it looks more complicated than it is but was a fair bit of work to put everything together when you factor in testing bits, current & Voltage outputs etc :


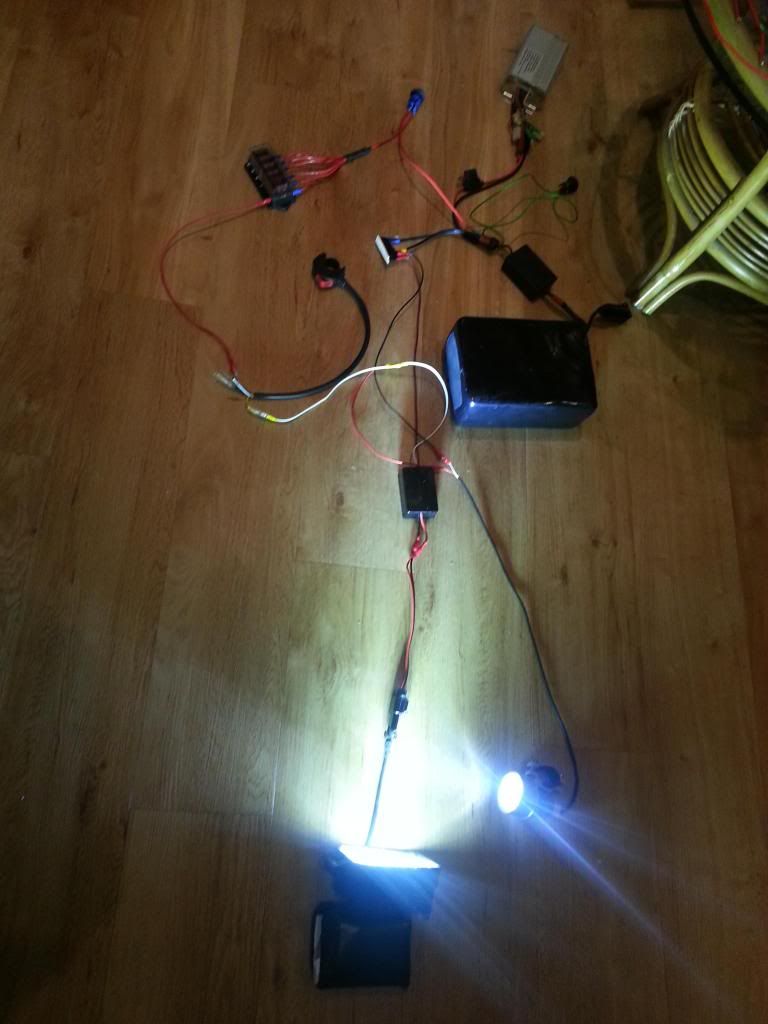
Both HIGH-beam lights now come on together as I spliced the +ve feeds in to them from the relevant handlebar switch output (White) corresponding to 'off on LOW / On on HIGH'. The handlebar switch is supplied straight from the fuse box and is a live switch. Proof of the pudding (and a big sigh of relief !)


So that's a high-powered 27W headlight which can easily be removed or bolted on and plugged in externally, supplied via Y-feed across its own voltage regulator, and a permanently mounted 5W 3-LED light supplied at 36V that's got a nice narrow long-distance hotspot which will come on on high beam whether the other is connected or not.

This was likely the trickiest circuit to spec out and a tonne of work to source and hook up all the bits and connectors - loads of help and ideas on here directly and indirectly on products, technical, know-how and tips from Mike Higgins, d8veh, Scimitar, GeeBee, Old_Dave, KirstinS, tillson and others inputting to various aspects on various (exhaustive) threads and some ideas from other forums & own research too on connectors, powerstrip etc. Got a fair idea how to go about this sort of thing now - big learning curve but loads of added value.

I'll be putting more of those ideas into practice on next circuit branch, which will be the ON on LOW / ON on HIGH and ON on LOW / OFF on HIGH lamps. Still foxed by those darned CREE T6 clicky switches as if the lamps go off when I turn on high beam lights they will need manually turning on again when I drop the beam setting.

So I may just hook one up to ON on LOW / ON on HIGH along with a tail light. Worst comes to worst I have to turn it on manually when I turn my lights on for the 1st time and I'm running an unnecessary light when my 'killable' big headlight is on the bike. Can probably live with that rather than have to replace the CREE driver board - which isn't accessible anyway and would require a complete light remake. PITA in the scheme of a concept - or a project in itself if I'm looking for something to do on a dreary day down the line !
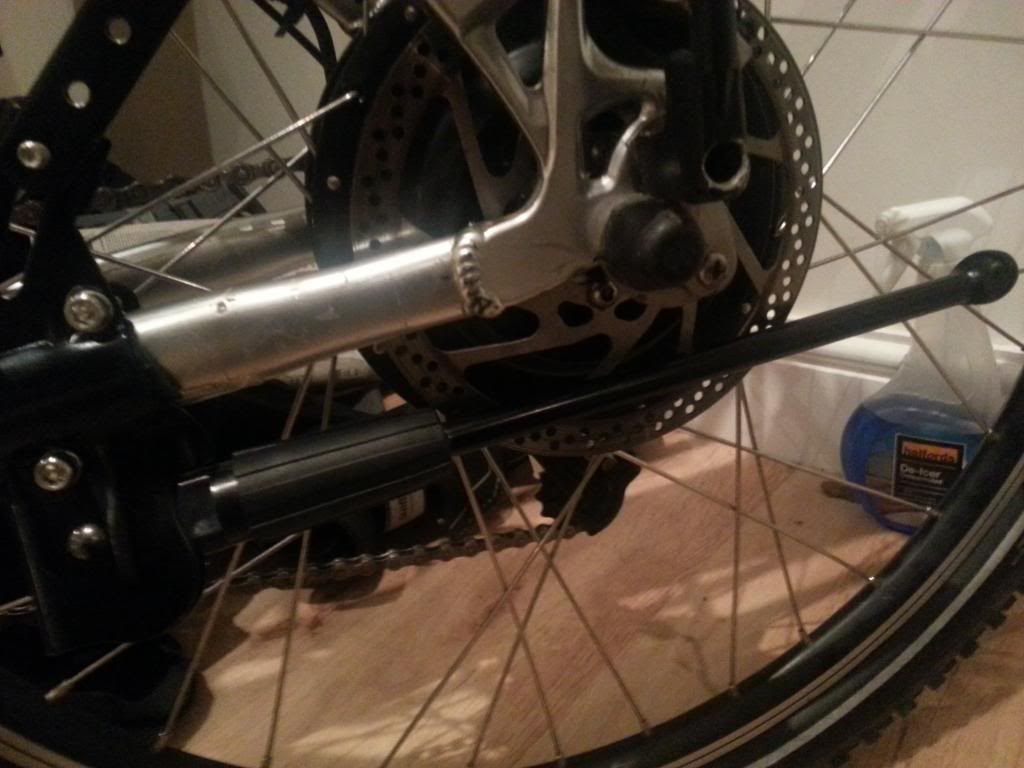
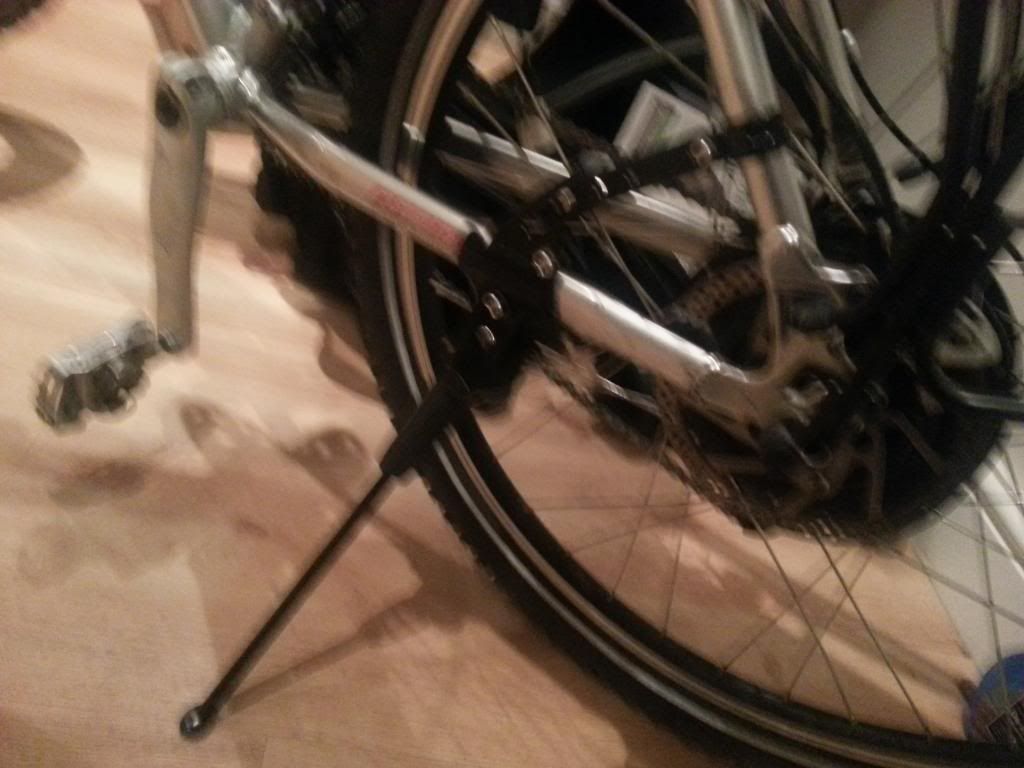
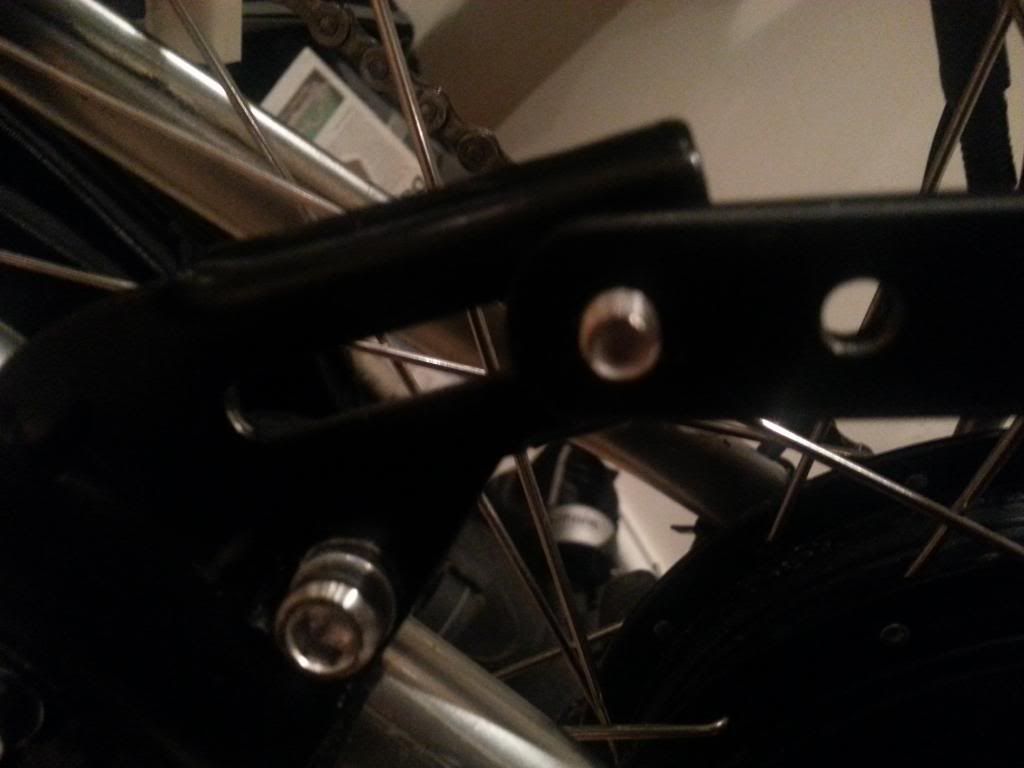
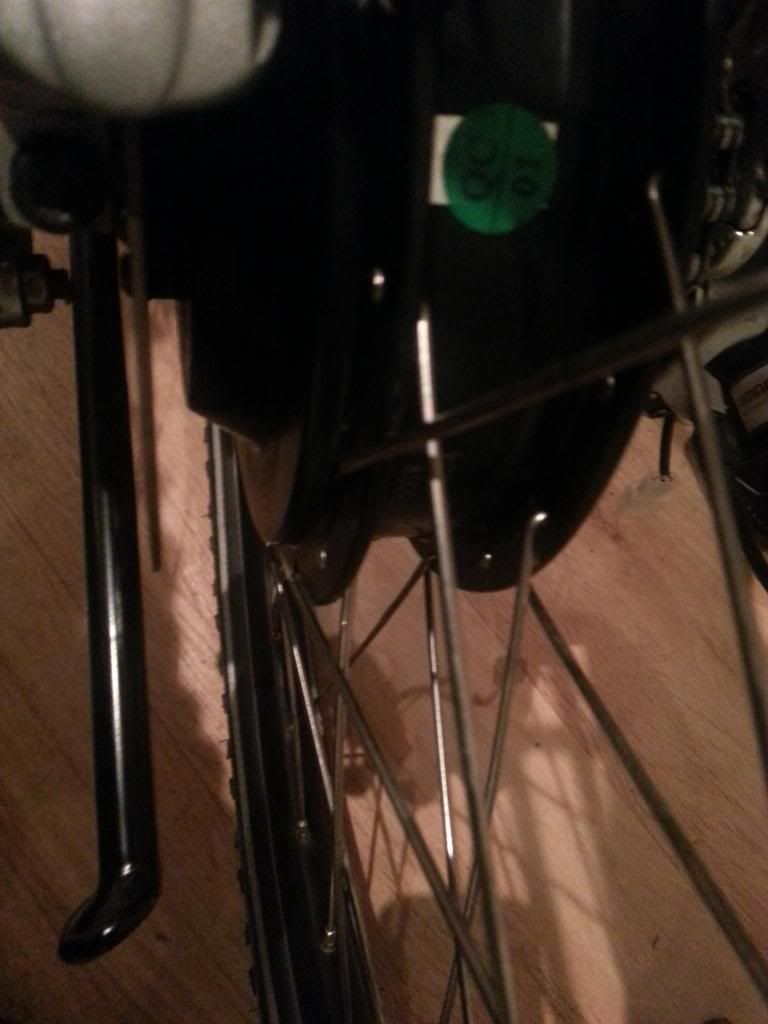
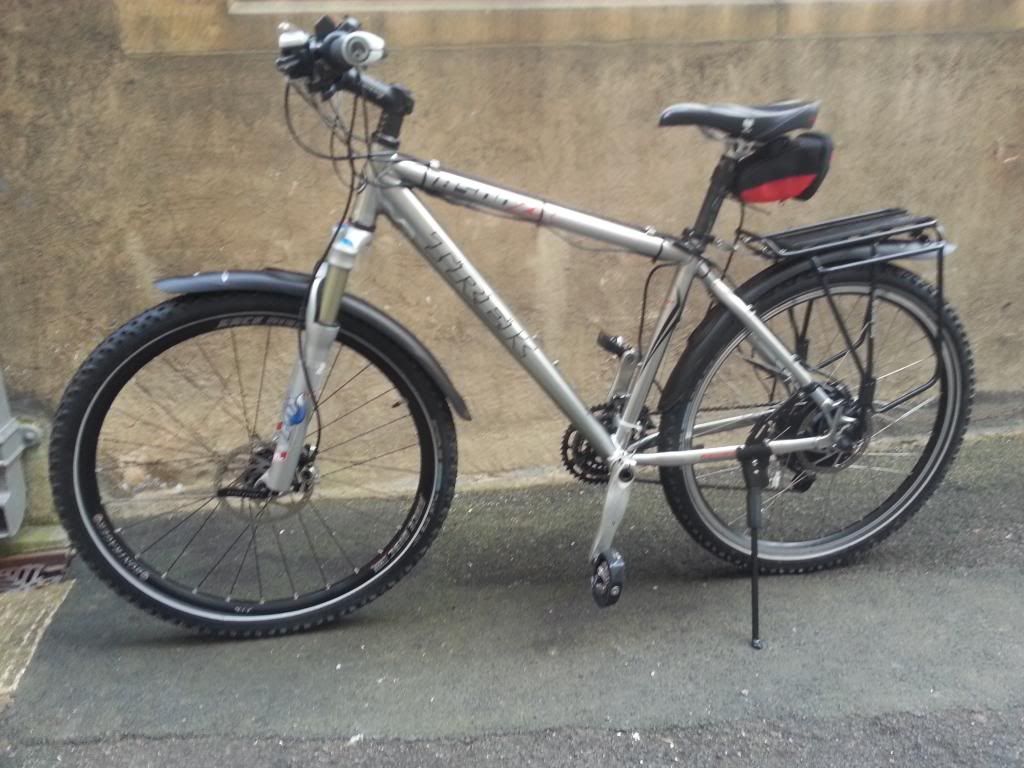
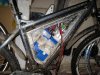
 

103Alex1

Esteemed Pedelecer
Sep 29, 2012
2,228
67
Thanks d8veh ... FINALLY, I have mudguards. Tredz sent them out without any fixing brackets, but no quibbles - they got me the brackets on back order and sent out, and I finally got them yesterday.

These must be some of the only mudguards that'll readily fit that frame.


As you suspected, I did have to take the dremel to the rear guard behind the mech as it was touching the seat-tube and front gear cables there - but a very easy job with that multitool. Really pleased with these - they're discreet and can JUST get away with fitting my rear light bar without causing problems there.

I am :D - it's shaping up now. Off to fit some spoke reflectors next. Got these, which are great :

Spoke Reflectors NEW Lazer Bright 3M Scotchlite Bike Wheel Bicycle Cycle. 1 - 72 | eBay
 
D

Deleted member 4366

Guest
Thanks, you just reminded me to order a couple more pairs for my next two bikes. Tredz will be wondering what I''m doing with these mudguards. That's six pairs now. They're the only sensible ones you can fit to forks that don't have the hole in the crown/bridge, and also they're the only sensible ones that can be fitted to bikes with rear suspension.
 

103Alex1

Esteemed Pedelecer
Sep 29, 2012
2,228
67
1st fit of battery box frame sides.


It's blooming tight - but I can get the battery in. Have lost a bit of depth on account of needing clearance for the front derailleur and I've millimetres spare to make sure there's sufficient pedal clearance.Would be dead easy just to build in the battery and everything else but reality makes me think having things accessible is the only sensible thing to do. Fuses will need changing, lights will get swapped and eventually the battery will be replaced so need to access all bits of it really.

The clearances limit my options for rounding the edges - if the battery was just a bit longer and thinner it would be no trouble but you need something to screw into - and realistically that takes me right to the top edge. So ... I think I'll use these in the top 1/2" all the way round bar the end of the nose cone which will be done in balsa.

The Insert Shop - Buy Threaded Inserts Online

The compromise I'll probably have to make is that one side panel will be screwing on to the frame rather than being glued down and therefore I'll likely have to put more screws in and make a silicone or rubber gasket where it joins the rest of the body of the box. Gaah !
 

trex

Esteemed Pedelecer
May 15, 2011
7,703
2,671
alex, please correct me if I am wrong but don't you need a metal case and inside cushion for your battery pack?
 

103Alex1

Esteemed Pedelecer
Sep 29, 2012
2,228
67
alex, please correct me if I am wrong but don't you need a metal case and inside cushion for your battery pack?
Nope. The battery is actually sufficiently supported by the main wood frame which in turn will have horizontal supports when the sides are on. There'll be space for some padding / insulation in the 1/2 inch between the battery and the plywood edges of the box when they go on.

d8veh made one for his full-sus out of wood - see post 17 here :

http://www.pedelecs.co.uk/forum/electric-bicycles/12481-rocky-mountain-element-conversion-2.html

He reckoned it would be possible out of only balsa and ply with the right structure - saves a lot of weight. I've chosen to use softwood on the side the panel will screw into because of the shape of my triangle, size of controller, amount of wiring needing to cross from one side of box to another and various other factors. The weight disadvantage is not big especially as there's quite a bit cut out of the battery area of the softwood frame. I may remove some more in the nose area - we'll see.

I don't like the metal boxes much personally. Too angular, and the materials are much harder to work with. Probably a lot cheaper to make a metal box though - the marine ply was a fortune and Glosstex / Solarfilm and related tooling are not cheap either.
 

103Alex1

Esteemed Pedelecer
Sep 29, 2012
2,228
67
Possibly so - but I don't like working with metal (don't take to it as a material at all I'm afraid ... will use it when I have to but basically I don't like it much). You still have to fix it so it doesn't rattle as a HUGE metal box. The Stealth bomber type boxes also cover loads of the frame up, which is a shame if you have a nice frame, and you usually see rivets all over the place (presumably you need to buy a riveing tool and a bunch of other tools as well).

I need to fit and organize 3 DC-DC converters, a FET switch, masses of wiring and a huge controller in there as well as setting in sockets which are easy to drill out of wood cleanly. I'm only losing about 3mm of plywood in the majority of the available space... and one big metal-sided cavity isn't ideal for keeping all the wiring, sockets etc apart. You're also likely relying on foam to support your battery, which it probably won't do very well with one that size. Might work with a bunch of LiPos but would like to see it work properly with a big Li-Ion block !
 

rpurchon

Pedelecer
Sep 22, 2012
55
0
battery box made from 1 IMGP4152.jpgIMGP4115.jpgthin aluminium sheet,fixed to frame with the 4 bottle bosses.
easy to make.make a template size of your frame.
draw round it on aluminium sheet.
fold up edges 90 deg using 2x3 wood and g cramps to get a decent square fold.
then fold over small edges apx 1" .few pop rivets on corners , make a door job done.
richard
 

Advertisers