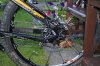
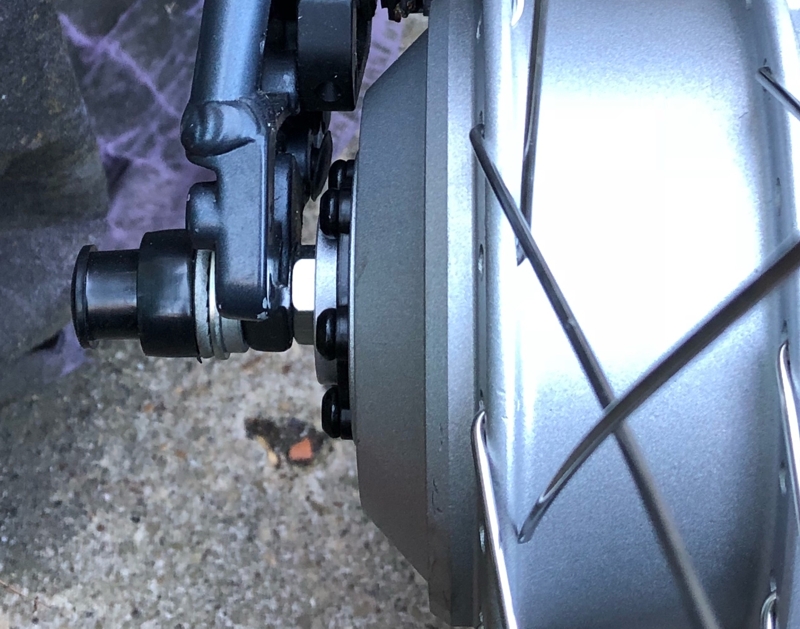
As per title, I received the XF08c kit today, but I can't get my caliper/carrier combination to fit
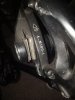
With the standard mounting (caliper on the inside of the dropout) the carrier fouls the motor, but even if it didn't it would put the caliper way past the brake disc

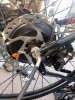
I thought of mounting the carrier on the outside of the dropouts, but this leaves the caliper sitting right underneath the frame so that's not going to work either

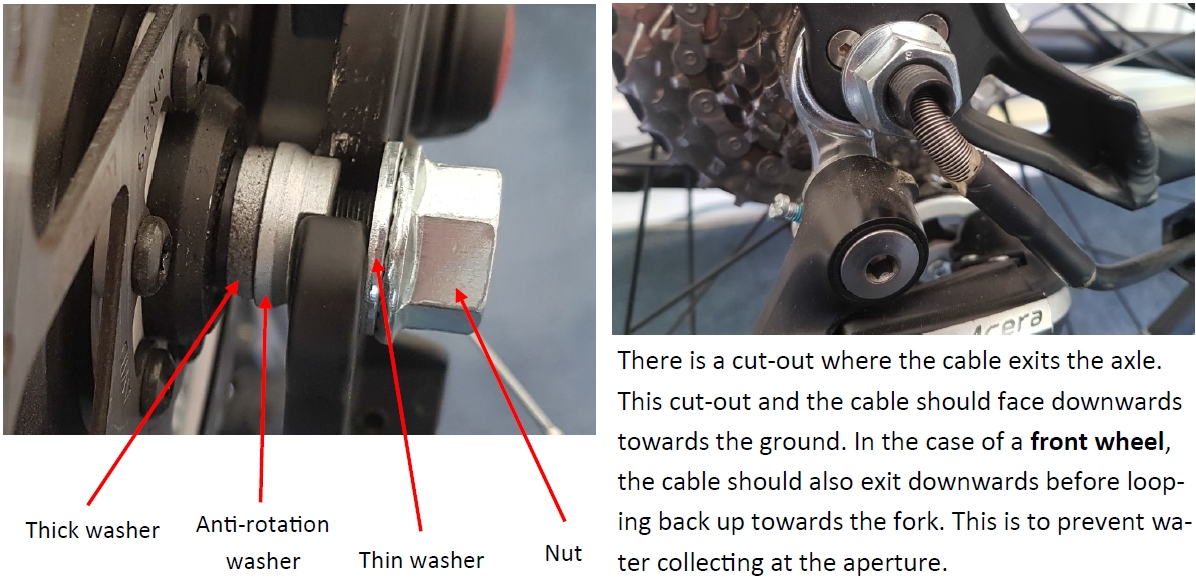
It was already a tight fit between the dropouts so I don't think I can put spacers on the inside to make a bit more room either, at least not without stretching the frame which I imagine would damage it?
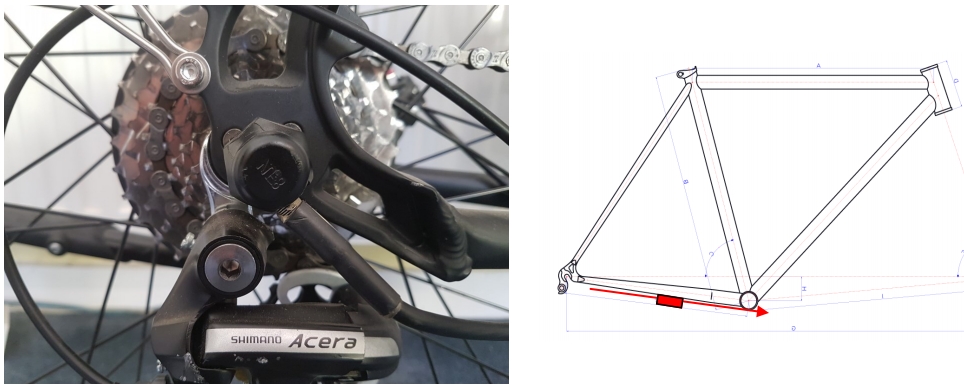
So am I missing something, or is there something that can be done?
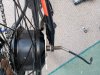
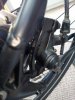
With the standard mounting (caliper on the inside of the dropout) the carrier fouls the motor, but even if it didn't it would put the caliper way past the brake disc
I thought of mounting the carrier on the outside of the dropouts, but this leaves the caliper sitting right underneath the frame so that's not going to work either
It was already a tight fit between the dropouts so I don't think I can put spacers on the inside to make a bit more room either, at least not without stretching the frame which I imagine would damage it?
So am I missing something, or is there something that can be done?