My rear cassette hub kit arrived without drama from BMSBattery. It took about 17 days from ordering, which is not too bad, and the total cost, including shipping and import duties came to around £385. This gave me the complete rear wheel, 10.4 ah bottle battery with built in "new type" controller, lcd display, thumb throttle, one in-line brake sensor, speed sensor and pedelec sensor. I also received brake levers which I do not intend to install.
I set the kit up on the lounge floor, wired it up and everything did as it was meant to. So far, so good.
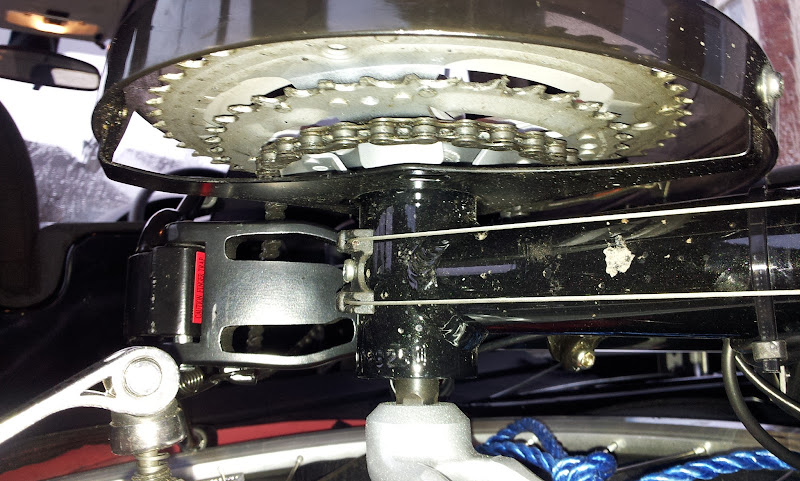
However, when I went to fit the kit to my Claud Butler legend, there was no way that the rear wheel would fit. Yes, the drop outs require a bit of filing but, more importantly, the wheel did not sit centrally. In fact, I would guess that it was offset by half an inch or more.
I took the bike and the (partially installed) kit to my local cycle shop who looked at it and said that they couldn't do anything with it as the wheel needed to be dished. They didn't want to touch it, mainly because it had a hub motor and they didn't have a jig suitable, nor the man hours required.
They did, however, suggest that I took it to a specialist bespoke bike builder a few miles away, which I duly did. He confirmed the requirement to dish the wheel and reckoned that he could do it. Come back on Saturday, he told me.
Now, my guess is that these wheels are designed to fit specific frame types, of which mine is not one, and are perfectly serviceable. However, my Claud Butler is not a suitable donor bike.
Another issue relates to the pedelec sensor. The chap in the first bike shop said that my BB is a sealed unit and they wouldn't be able to fit it. If I were cycle savvy then perhaps I could agree with him, but I'm not and just took his word for it. I could, of course, live without it.
So, the bike is not ready and I am a bit disappointed. However, stuff like this doesn't bother me too much and it's been quite an interesting learning experience so far. I would add that, contrary to what I've read elsewhere, communications with BMSBattery were excellent. All emails replied to promptly.
Whether or not my experience will assist someone else, I don't know, but I did think that I had carried out sufficient research beforehand. Just goes to show.
I set the kit up on the lounge floor, wired it up and everything did as it was meant to. So far, so good.
However, when I went to fit the kit to my Claud Butler legend, there was no way that the rear wheel would fit. Yes, the drop outs require a bit of filing but, more importantly, the wheel did not sit centrally. In fact, I would guess that it was offset by half an inch or more.
I took the bike and the (partially installed) kit to my local cycle shop who looked at it and said that they couldn't do anything with it as the wheel needed to be dished. They didn't want to touch it, mainly because it had a hub motor and they didn't have a jig suitable, nor the man hours required.
They did, however, suggest that I took it to a specialist bespoke bike builder a few miles away, which I duly did. He confirmed the requirement to dish the wheel and reckoned that he could do it. Come back on Saturday, he told me.
Now, my guess is that these wheels are designed to fit specific frame types, of which mine is not one, and are perfectly serviceable. However, my Claud Butler is not a suitable donor bike.
Another issue relates to the pedelec sensor. The chap in the first bike shop said that my BB is a sealed unit and they wouldn't be able to fit it. If I were cycle savvy then perhaps I could agree with him, but I'm not and just took his word for it. I could, of course, live without it.
So, the bike is not ready and I am a bit disappointed. However, stuff like this doesn't bother me too much and it's been quite an interesting learning experience so far. I would add that, contrary to what I've read elsewhere, communications with BMSBattery were excellent. All emails replied to promptly.
Whether or not my experience will assist someone else, I don't know, but I did think that I had carried out sufficient research beforehand. Just goes to show.