My kit has arrived and oh my it looks confusing!

Shetland Wife

Pedelecer
Jan 26, 2015
67
8
44
So my kit has arrived today and I don't seem to see any instructions with it. It is a Wuxing front wheel kit from Prorider Leisure. So any good videos or references that might help get me on the road :)
 

trex

Esteemed Pedelecer
May 15, 2011
7,703
2,671
may be worth emailing their support department.
As you bought it by mail order, you can always send it back if you don't want to proceed with installation.
 

Shetland Wife

Pedelecer
Jan 26, 2015
67
8
44
I will email them. But this is the kit I wanted so will see what they say. It really just is the wiring that has me a bit afraid as there is sooooooooo much of it to connect.
 

trex

Esteemed Pedelecer
May 15, 2011
7,703
2,671
don't do anything with it until you get the full documentation and you get your head round where everything should go and how you are going to route the cables.
If something goes wrong with the installation, there is always a risk that you get blamed for because it's not done by a specialist.
 

Shetland Wife

Pedelecer
Jan 26, 2015
67
8
44
Good advice trex I guess it will just have to wait until I hear back from them Monday most likely. How frustrating as I was hoping I would have it all installed this weekend .
 

trex

Esteemed Pedelecer
May 15, 2011
7,703
2,671
it's not very difficult - you'll get there.
 

Shetland Wife

Pedelecer
Jan 26, 2015
67
8
44
Thanks trex. It wouldn't seem so overwhelming if the instructions were with it or if I could find the instructions online :)
 

Shetland Wife

Pedelecer
Jan 26, 2015
67
8
44

trex

Esteemed Pedelecer
May 15, 2011
7,703
2,671
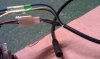
that's probably the case. The connectors are quite distinctive, 3-pins go with 3 pins etc. The power lines, motor, brake lever sensors, LED panel are all terminated with matching connectors. The difficult bit is only the pedal rotary sensor. You don't have a throttle and speed sensor with this kit so there is no confusion because they have 3-pin connections.
It does not hurt to ask their support department to confirm the colours of the wires.
Install in order:
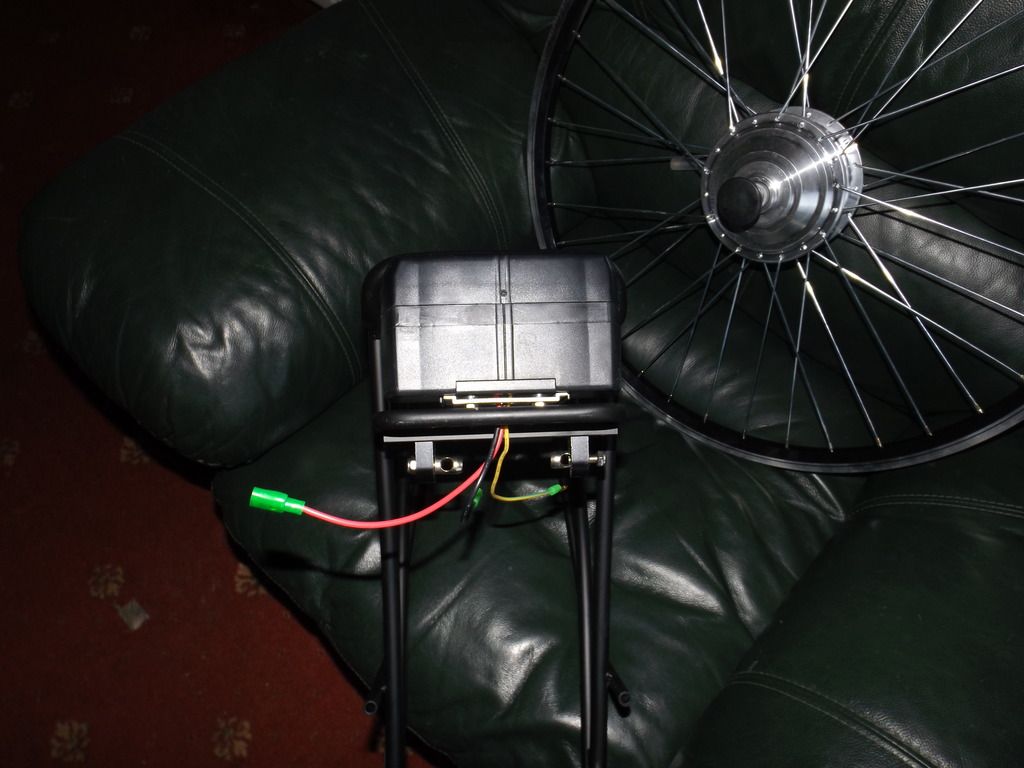
1. Install the battery
2. Install the motor
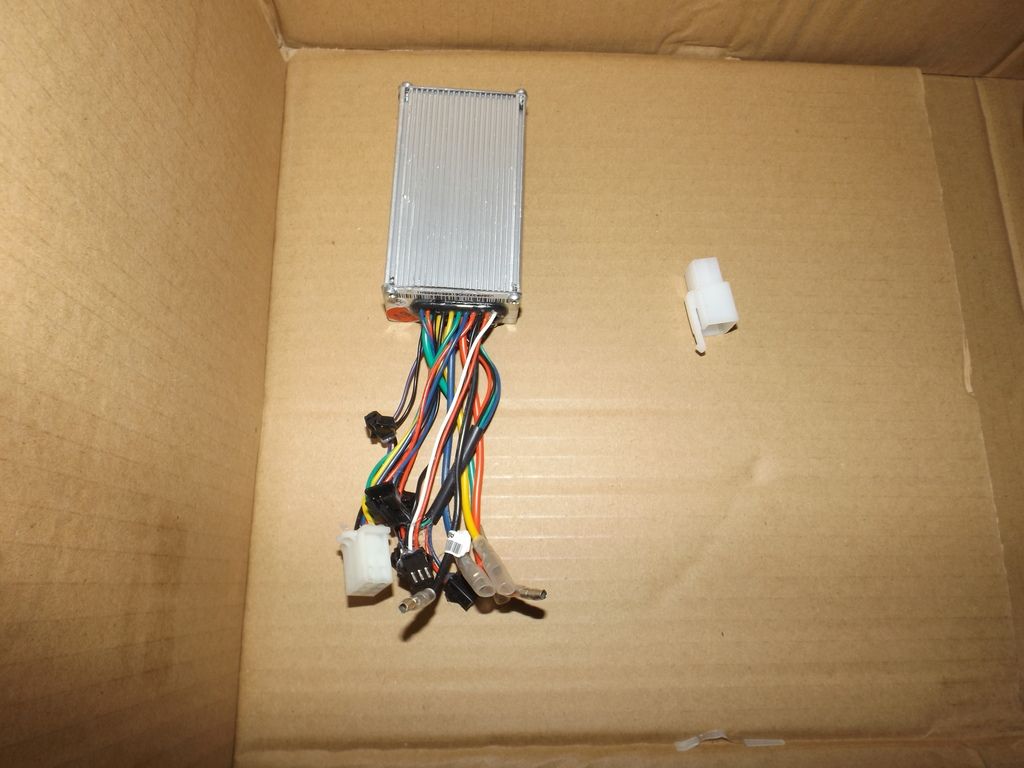
3. Connect the LED panel, battery and motor to controller

Switch on the electrics (red button on the 790 LED panel).
If it lights up, continue.

4. Install the pedal sensor
Test the bike on stand
5. Install the brake levers
Test the bike on stand.
That's it.
 
  • Like
Reactions: Shetland Wife

Shetland Wife

Pedelecer
Jan 26, 2015
67
8
44
Thanks so much trex. My husband is going to have a good look shortly he thinks it should be a breeze but as he often gets called out for work I am hoping I can do most of it myself. Although I am not the most technically savvy gal I think I will manage as I am a logical gal and youtube videos are my friend.
 
D

Deleted member 4366

Guest
Just post some photos here, then we can tell you how to do it. It only looks difficult because you haven't done it before. It should be much easier than it looks.

The first thing to do is try to fit the motor wheel. If it doesn't fit, we'll show you what to do.
 
  • Like
Reactions: Shetland Wife

trex

Esteemed Pedelecer
May 15, 2011
7,703
2,671
undo the two small screws and lift open the top part of the blackbox in front of the battery. The controller goes inside that space, called the controller box. It's a bit of a squeeze, so leave the top of that blackbox open until you finish with the installation.


Move the power wires (back and red) inside the controller box, connect up to the controller (black to black, red to red). Plug un the 810 LED panel.
Install the battery and switch on the 810 LED panel.
The LED panel should light up.
 
  • Like
Reactions: Shetland Wife

awol

Esteemed Pedelecer
Sep 4, 2013
1,216
374
The long wire with 5 thin coloured wires inside the black heatshrink on the end need the pins inserting into the seperate white plug end in the same places as the same colors in the other half of that plug which is connected to the controller.IMAG0075.jpg
 
  • Like
Reactions: Shetland Wife

trex

Esteemed Pedelecer
May 15, 2011
7,703
2,671
yes, make it one step at a time.
Just make sure that you have power to the controller, then install the motor and connect up the motor to the controller.
I see you have a throttle, connect the throttle after connecting the motor wires (blue to blue, yellow to yellow, green to green), you should then be able to test that the wheel spins using the throttle.
You can leave the wires dangling for now. Wait until you have the wheel spinning first before tidying up the wires.
 
  • Like
Reactions: Shetland Wife

Shetland Wife

Pedelecer
Jan 26, 2015
67
8
44
Thanks again trex. I will upload some more pictures as there are a few things on the wiring that are confusing me still. My husband is changing the wheel in a minute so best check this first. Oh the red battery bit seems to have two bits but only one to plug into it.
 

trex

Esteemed Pedelecer
May 15, 2011
7,703
2,671
show us a picture inside the controller box. The battery has two main terminals, plus (red) and minus (black). Those go to the controller.
Show us also a close-up picture of the controller's connectors. This one is not very clear for us old folks.
 
  • Like
Reactions: Shetland Wife