Oxydrive kits

  • Thread starter Deleted member 4366
  • Start date

morsmana

Pedelecer
Jan 12, 2015
40
3
63
Hi folks, first time on, but have been following much of the discussions. It helped me decide to go ahead and buy a couple of the rear carrier kits during the New Year sale. I'm now well into the first build. First bike is my ridgeback velocity hybrid. Learning points so far - bottom bracket is a standard 68-123 shimano. New style pedelec sensor wouldn't fit over a shoulder on the non drive taper, and also wouldn't fit into the non drive side splined shell. On the drive side there is not enough clearance for the older style magnet. Spoke with Andrew at Oxy who suggested longer BB, which I got yesterday (made by ETC) now the non drive slide over sensor fits their design cup - result. But being longer, the drive side deraileur won't extend far enough. So I've got a new ETC bb on the way, original 123 length.
Motor went in ok ish - very little clearance, so fitted a couple of 14mm washers to help. Also waiting on a torque arm as I think the motor could easily spin out. Single brake switch no good as all my bikes have combi fittings - Andrew seemed surprised, but the separate brake/ gear lever fittings are only on the cheapest of bikes nowadays, so still thinking on this one. The instructions for the LCD controller are a joke guys! I've managed by trial and error to get the max speed/ mode sorted just need to set the throttle speed - thanks for previous postings. So hopefully by end of the week it's tidy up the wiring time and take it out - first trial run in the garden yesterday was a hoot, so should be great when I've done all the things above. Please note that Andrew did offer a full refund if I wasn't happy when I was battling through the above stuff, but I really want to make this work as we live in the hills of Cumbria and neeeeed the leccy!
 

Kinninvie

Esteemed Pedelecer
Oct 5, 2013
907
415
Teesdale,England
  • Like
Reactions: Staffordshirehills

OXYDrive

Finding my (electric) wheels
Does anybody know how to reset the mileage trip?

Hi Ian,

To reset the daily trip you need to press SET button for 3 seconds.

This will enter into settings mode. Once in there press SET again for half a second, On the left bottom figure will change from 0 to 1. Then press DOWN button, this will reset the distance and then wait for 3 seconds. It will exit settings mode automatically.

Same to change km/h to mph press SET for 3 seconds, then press SET again 3 times until the left bottom figure changes to 3, then press down button to change km/h to mph, leave it for few second this will exit settings mode automatically.

Hope this helps, this batch of C300 display's seems to be slightly differently programmed which we were not aware of. For any settings questions please feel free to contact me

all the best
Andrew
 
  • Like
Reactions: Ian_Fearn

morsmana

Pedelecer
Jan 12, 2015
40
3
63
Hi Andrew. Many thanks for this info on the c300. I'm struggling with the " low, mid, and high" settings in combination with the 0-6 assist levels. What are they for? The way I think the 1-6 assist levels work is if the max speed is say 24mph, then if I have level 1 set it will help me up to a max of 4mph and cut off if I cycle faster, level 2 up to 8 mph and then cut off if I'm faster etc. is this right?
 

OXYDrive

Finding my (electric) wheels
Hi Morsmana

The levels of PAS from 0-6 are indeed proportional to the speed achieved as you say level 1 no will help you up to say 8mph, level 2 up to say 11mph and level 6 being the fastest one.

There is however internal display setting marked as '0' in the settings mode. You press settings button for 3 seconds and you're there. You have option then to choose from 1 to 3. This function sets the accelerated speed.
Option 1 - ECO mode
Option 2 - Standard
Option 3 - Sport

Obviously if set to 3, expect the highest power consumption.

Staffordshirehills - you mentioned quite fast start with front wheel, make sure you have that setting set to 1 which is the slowest acceleration. This may make the start bit more smoother.
 
D

Deleted member 4366

Guest
Those different acceleration settings are actually motor current. The speed is regulated by the 1-6 levels, but the low/mid/high, eco/normal/sport, or whatever it is,affect the power of the motor.
 
  • Like
Reactions: OXYDrive

morsmana

Pedelecer
Jan 12, 2015
40
3
63
Brill, I understand now, should have realised as accel is proportional to torque, which is proportional to current.....looking forward to the weekend play with the new toy, just hoping its not too snowy....
 

Ian_Fearn

Pedelecer
Nov 16, 2007
53
17
Hi Andrew, thanks for answering the questions. Resetting the trip has worked perfectly. I'm really happy with the kit so far. It pulls really well and looks tidy on the bike.

Have you had any feedback on fitting the new style crank sensor? I've found it doesn't fit a standard Shimano BB. The manual does say you might have to file it down but to be honest it will require some very delicate filing and even then could well be damaged beyond use by the time it 'fits'.

It looks so elegant that I'll persevere with it when I get some time in good light.

Thanks again, Ian
 

baldylox

Pedelecer
May 25, 2012
240
77
Hants/Wilts border
So far so good, CST motor wheel takes 9 speed cassette and 185 disk with no rubbing, free movement.
Battery fits nice and snug, all feels well balanced on bike... Nice integration.
Just need to fit pedal sensor and finalise brake sensor placement.


baldylox

Pedelecer
May 25, 2012
240
77
Hants/Wilts border
Thanks, I hope to keep it that way!
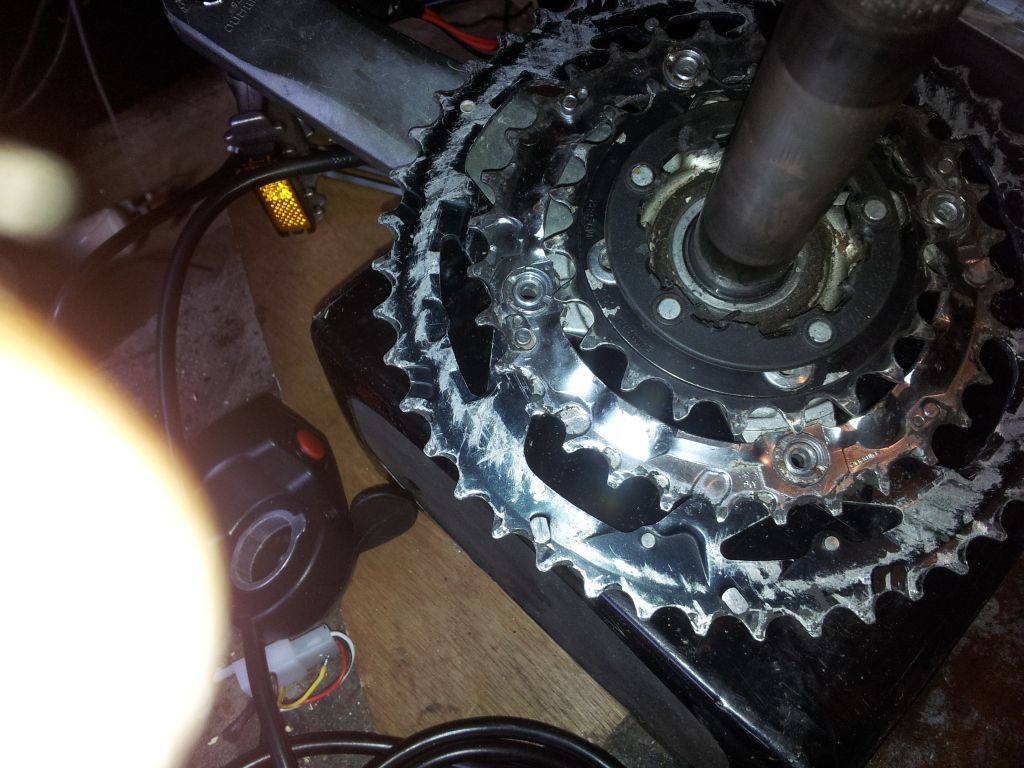
Having a bit of a headache with fitting the pas at the moment. The sensor goes on without a glitch but the magnetic disc is proving a nightmare. Got the dremel out attempting to fettle so that it fits behind my small chainring... Just don't have the clearance.
Are there any tips or should I be seeking an alternative solution here? I have seen a video on YouTube (in German) which suggests a hollowtech 2 specific magnetic ring is available but I can't seem to find it anywhere. :confused:
I have now transferred the sensor to the non drive crank but it's not going to be as elegant that way.
 
Last edited:

selrahc1992

Esteemed Pedelecer
Dec 10, 2014
559
218
Thanks, I hope to keep it that way!
Having a bit of a headache with fitting the pas at the moment. The sensor goes on without a glitch but the magnetic disc is proving a nightmare. Got the dremel out attempting to fettle so that it fits behind my small chainring... Just don't have the clearance.
Are there any tips or should I be seeking an alternative solution here? I have seen a video on YouTube (in German) which suggests a hollowtech 2 specific magnetic ring is available but I can't seem to find it anywhere. :confused:
i'm in the same position - I removed the small chain ring, and the central part of the magnet ring and attached it with wire to the remaining chain ring (third world approach, I know, but it worked) - then I (just) had clearance once I fitted the PAS sensor on a custom mount attached to the frame. Then I discovered, having assembled all, that the magnet ring was on in reverse - so I disassembled all, and turned it round and reassembled it. Now however I get a flashing spanner and code 09 on the display and nothing works...
 

morsmana

Pedelecer
Jan 12, 2015
40
3
63
i'm in the same position - I removed the small chain ring, and the central part of the magnet ring and attached it with wire to the remaining chain ring (third world approach, I know, but it worked) - then I (just) had clearance once I fitted the PAS sensor on a custom mount attached to the frame. Then I discovered, having assembled all, that the magnet ring was on in reverse - so I disassembled all, and turned it round and reassembled it. Now however I get a flashing spanner and code 09 on the display and nothing works...
I also could not get the clearance on the chain drive side. I've replaced my bottom bracket and this now allows the alternative speed sensor to work. You could put the magnet ring on the non drive side, but you will have to reverse the magnetic sensor - need to drill a small hole, to fit the small LED to allow it to be removed on the metal bracket supplied. This should work ok.
 
D

Deleted member 4366

Guest
Then I discovered, having assembled all, that the magnet ring was on in reverse - so I disassembled all, and turned it round and reassembled it. Now however I get a flashing spanner and code 09 on the display and nothing works...
These sensors are handed. The problem is that there's no external difference betweeen LH and RH. I wonder if you've got a left hand one? Before you flipped it, did it work when you pedalled backwards?
 

baldylox

Pedelecer
May 25, 2012
240
77
Hants/Wilts border
Here's a link to the video I saw earlier for the hollowtech pas magnetic disc...
PAS Scheiben montage von für 4 Kant , Hollowtech …:
 

morsmana

Pedelecer
Jan 12, 2015
40
3
63
Here's a link to the video I saw earlier for the hollowtech pas magnetic disc...
PAS Scheiben montage von für 4 Kant , Hollowtech …:
Looks only 2-3 mm thin. Now if we could get one this thin.... Have you tried the new speed sensors from Oxy that fit on the non drive crank?
 

morsmana

Pedelecer
Jan 12, 2015
40
3
63
I was looking at all the conversions that d8veh has made. I notice that you often put the pannier battery in a bag - did you do anything special to fix it to the pannier so it can't get nicked?
 

baldylox

Pedelecer
May 25, 2012
240
77
Hants/Wilts border
Not a hope of fitting the new single unit pas sensor provided by oxydrive, a real shame because this would be really low profile and integrated. The hollowtech bb is very unforgiving in this respect due to tight tolerances, I will be using it on my Saracen though.
 
Last edited:
D

Deleted member 4366

Guest
Not a hope of fitting the new pas sensor provided by oxydrive, a real shame because this would be really low profile and integrated. The hollowtech bb is very unforgiving in this respect due to tight tolerances, I will be using it on my Saracen though.
Hollowtech is easy. You mount the sensor on the other side of its bracket so that it reaches over the bearing holder. You might have to drill an additional hole for the LED. Then, you cut the middle out of the magnet disc and glue it to the inner chainring with some epoxy.