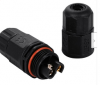
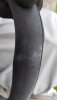
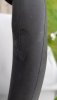
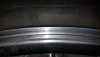
I've done ~1500 miles with my kit now. No problems with the main components as of yet. I do have some vibration from the motor that gets enhanced by the frame but it's been this way more or less from the start and doesn't seem to deteriorate. I did buy the KT-D12L pas sensor from topbike kit and this one failed on me today. What point is there to use water proof connectors if the sensor in itself is not waterproof
")
? Either way, I'm hoping topbike kit will replace it.
I know others have bought this sensor as well, did anyone else experience problems?
A bit off topic but I still love this thing! Besides being my commuter since February I have also done some really nice stretches during our summer holiday and I just keep smiling